Hello everyone!
It’s going to be a longer post than usual but we felt like doing things a little different this week and show you our camera projection technique. You might not realise it, but almost every shot in our film contains at least a little part of reprojection somewhere, going from small modifications to the entire retexturing of the set. Obviously it’s more work per shot, but it’s the fastest way to get exactly what we want on screen.
Some of you may wonder why we do not simply texture everything perfectly from the start. That’s a good question. In fact, our set is so huge that our computers could never handle the quantity of high resolution textures required to cover close-ups of every part of the set. For this reason alone, we have no other choice but to use this technique. From a visual standpoint, we also benefit greatly from this technique. Imagine one second that every single part of our set had sufficient details for a close-up. That might be fine for everything that is close, but everything that is going to be more than 10 meters away will look far too detailed for the painterly look we are after.
Let’s take this shot as an example :
That’s the kind of thing you might see when opening a new shot. Obviously, the set isn’t exactly looking the best it could. As I explained earlier, it is because it has been textured to be seen from afar. The cliffs you see in the back, for example, would be far too blurry and low-res seen from upclose, but are perfectly fine from this distance.
The first step consists in creating a new camera. It will be used to project the new texture on the ground geometry. The tricky part is finding an angle that covers the whole visible set from the animated camera. It’s also often needed to place it a little higher than the shot camera so that if there are little rocks or bumps, you don’t see their textures being all stretched out on the ground behind them. Once it’s done, all that’s left is doing a render of what we see on screen, paint over in photoshop and reproject it all on the geometry using the same camera. We often give ourselves the liberty to modify the set to make the composition more pleasing, like adding little rocks our remodeling a part of the ground that is too simple.
Here’s what the final texture looks like in the scene :
The time that each shot takes to be retextured varies, but it usually takes between one and four hours. It doesn’t take that long to do and as you can see, it looks much better!
Here are a few other shots that had heavy modifications.
Plan 027_030 : Original low-resolution textures
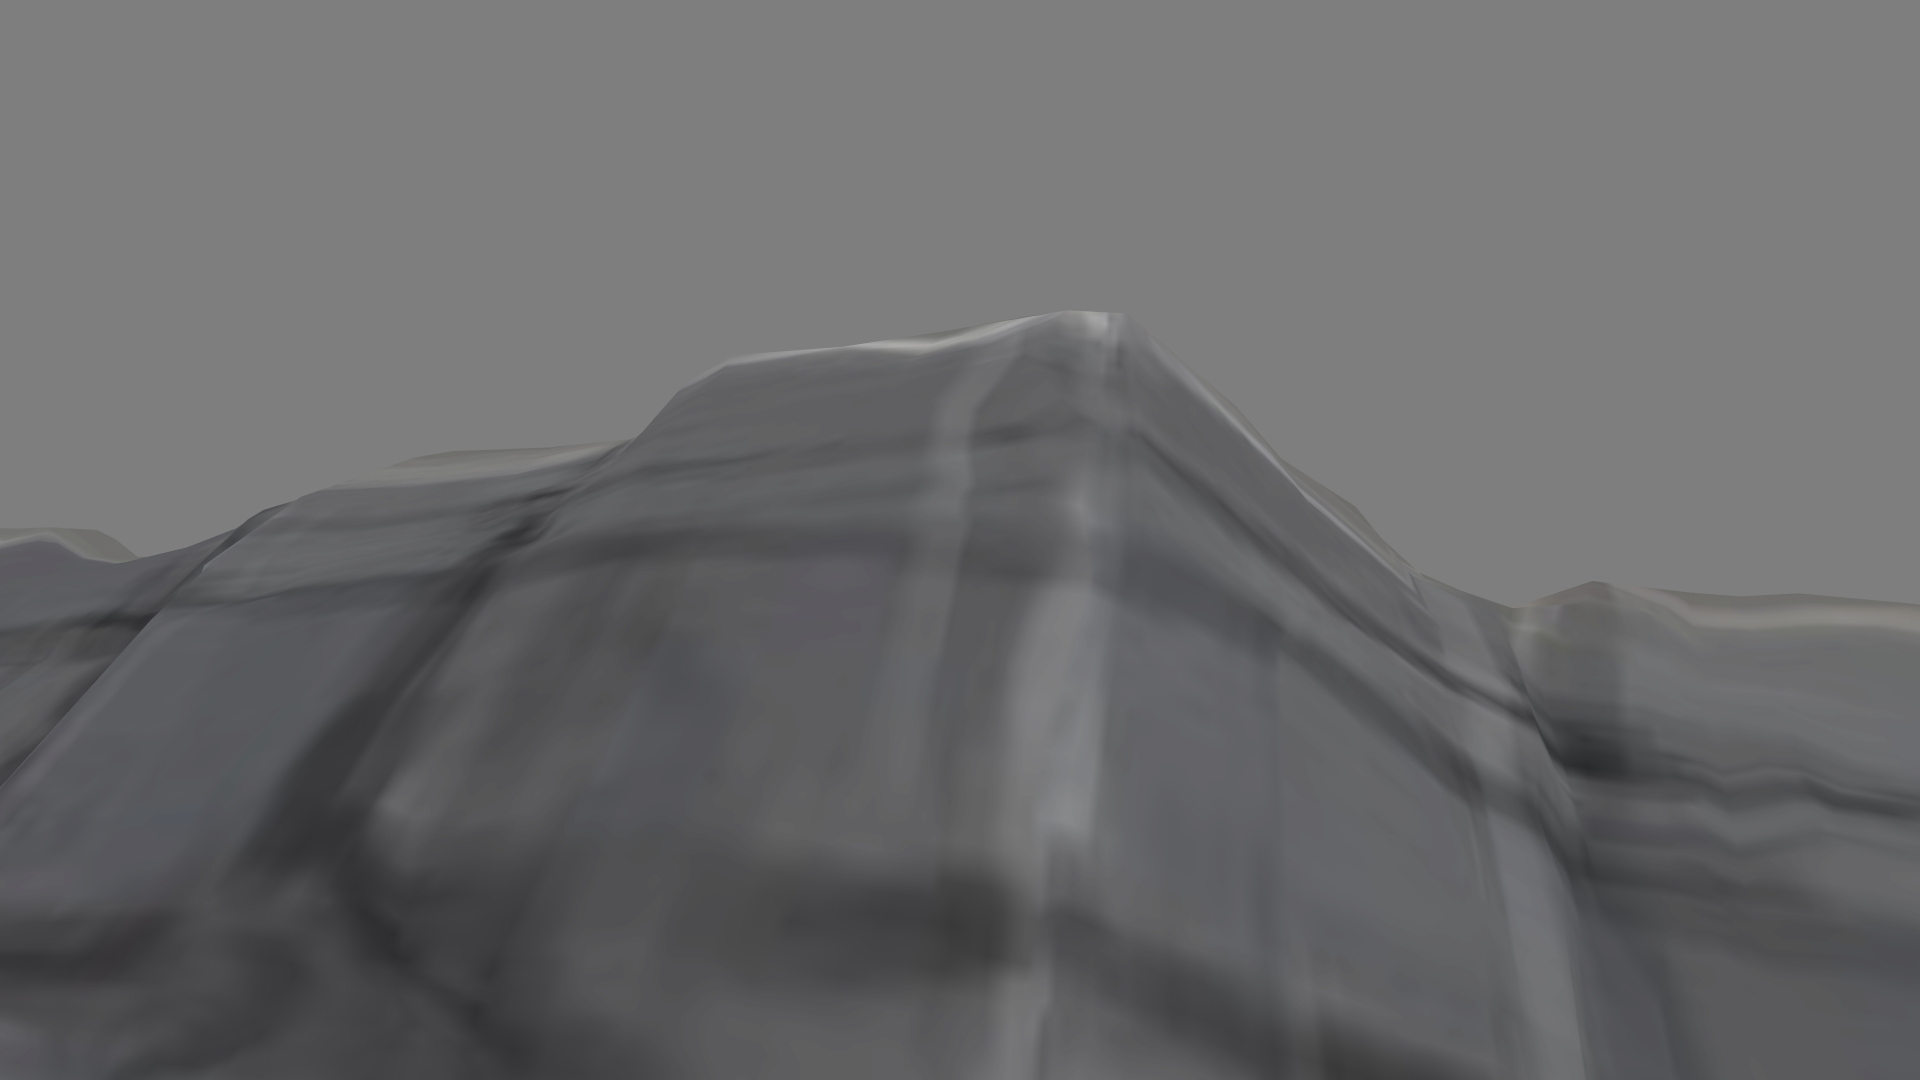
Plan 027_030 : Textures after the camera projection

Plan 022_030 : Original low-resolution textures
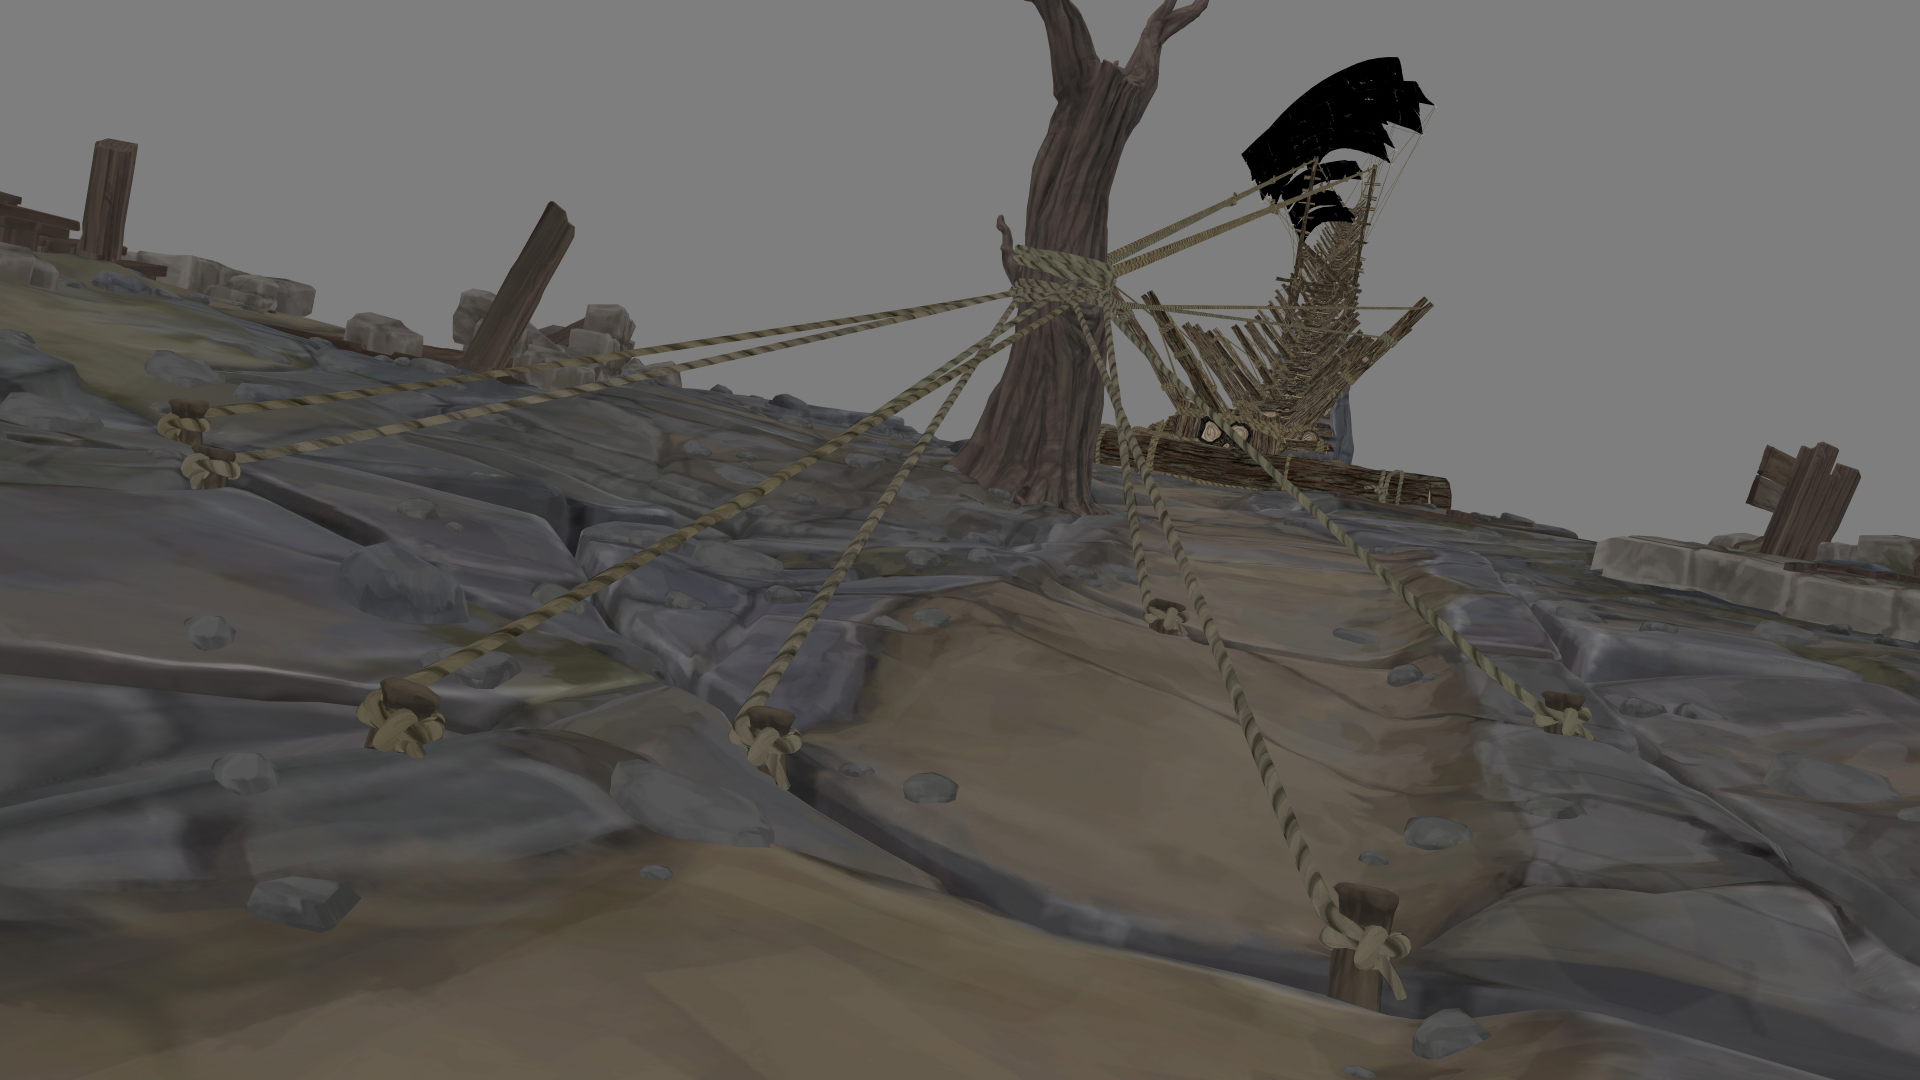
Plan 022_030 : Textures after the camera projection
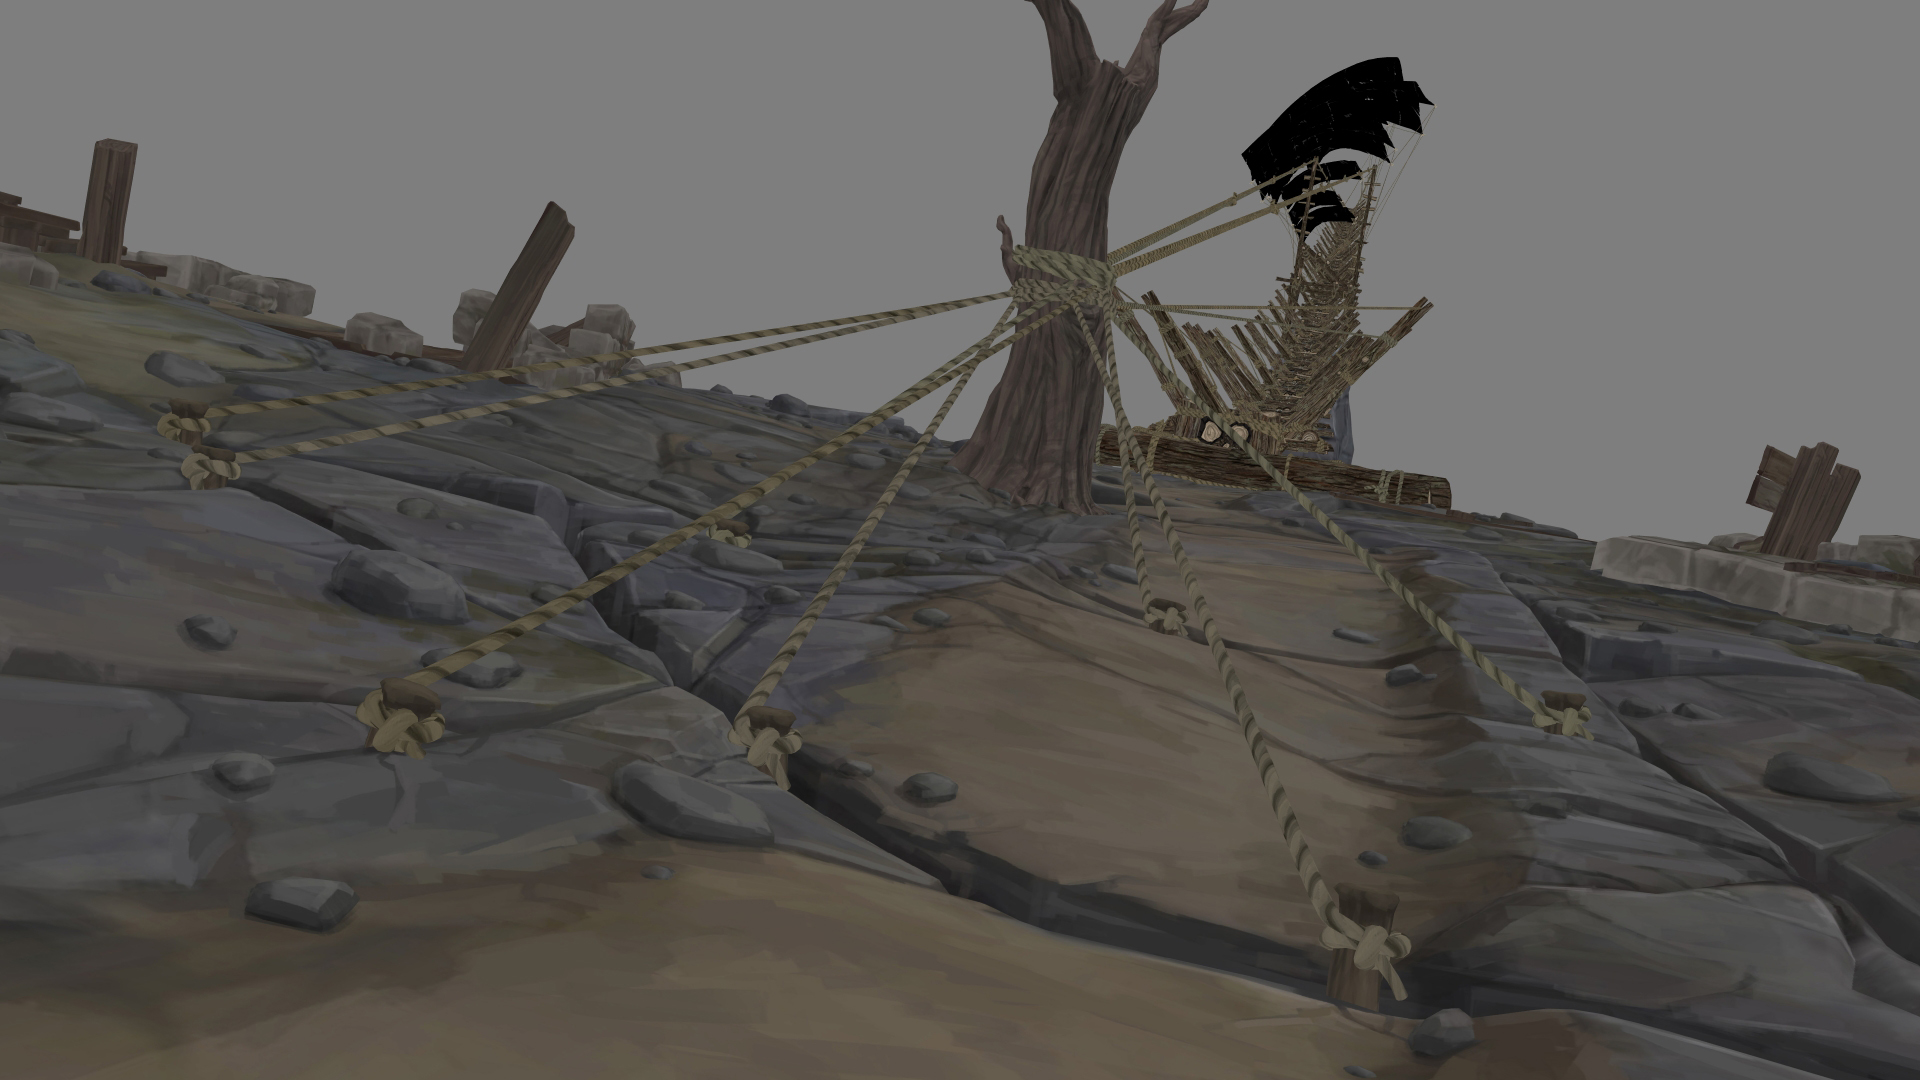
Plan 022_030 : Final shot after compositing
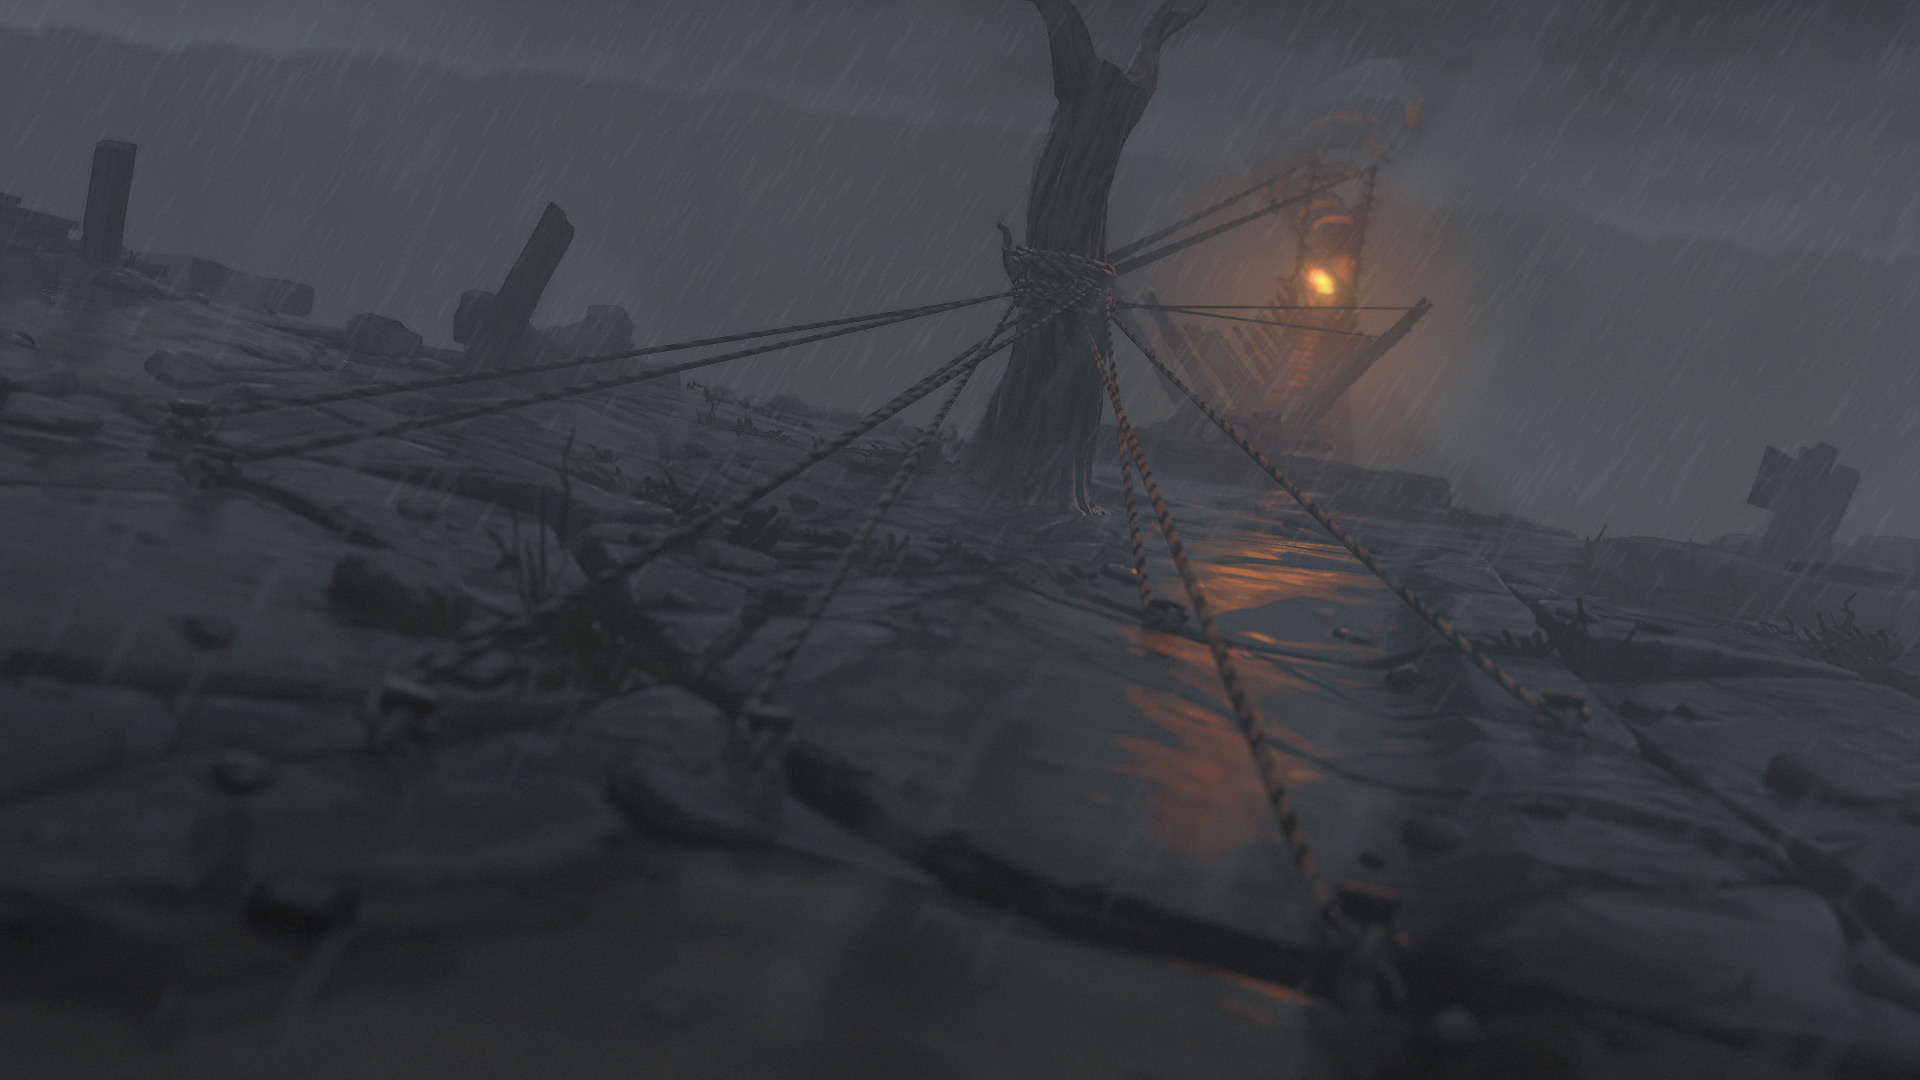
Plan 022_040 : Original low-resolution textures
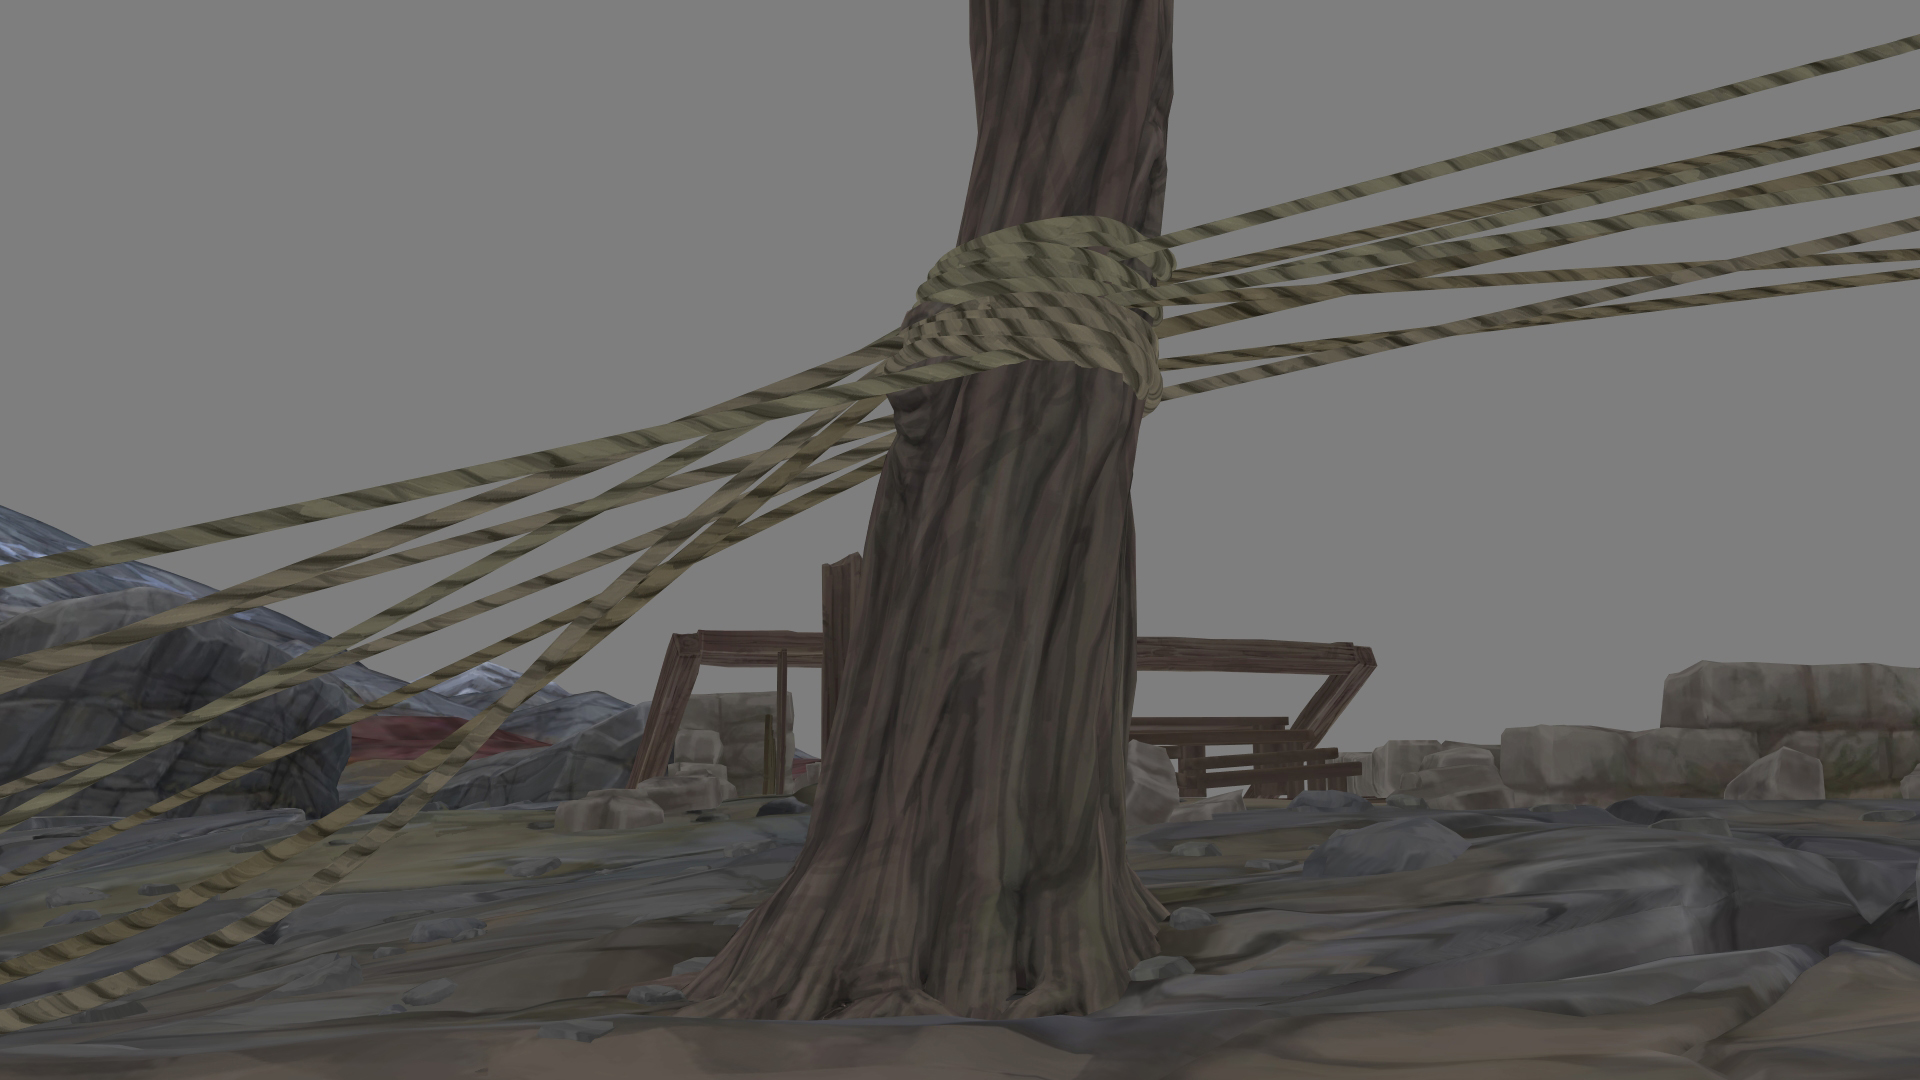
Plan 022_040 : Textures after the camera projection
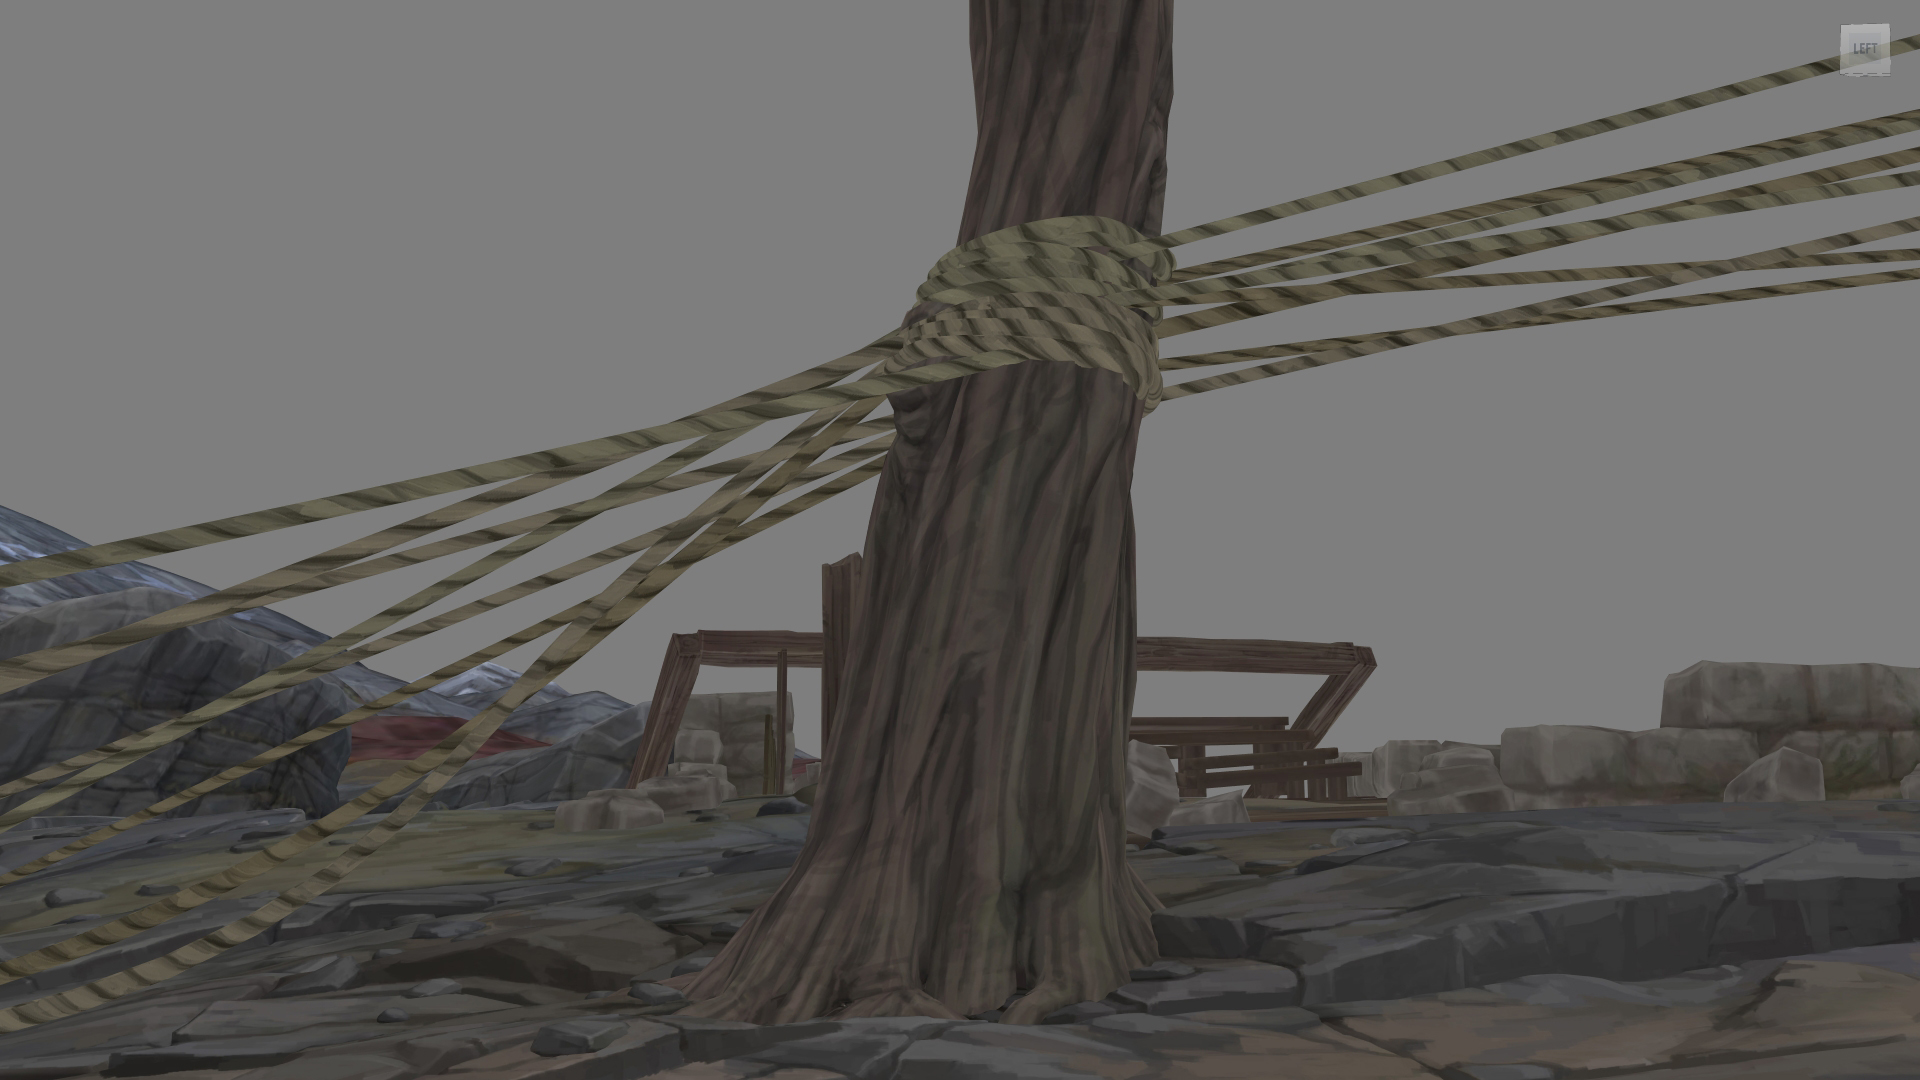
Plan 022_040 : Final shot after compositing

Well, that’s it. We hope you enjoyed our little tutorial! See you in two weeks for more news about Le Gouffre™!


3 Responses
Louis-Simon
Je me souviens d’avoir vu David utiliser cette technique pour son film de finissant et je trouve encore ça vraiment smart. Les résultats sont cool!
Jina
I see you don’t use the potential of social websites like FB on your site.
You can get huge traffic from social sites on autopilot using one useful app, for more
info search in google for:
Alufi’s Social Automation
Le Gouffre: Painterly Camera Projection | Natasha Crowley
[…] found this blog post, Week 55 – Camera Projection Technique, which goes into detail about how Lightning Boy Studio create the textures for Le Gouffre. They […]