Week 75 – Cliff Textures in ZBrush

posted in: Textures | 9

Many people told us that they would like to know how we did our cliff textures, so we’re going to show you just that in this week’s post. Beware to the non-initiates, it might be a little technical!

Now, what you must know is that the canyon in our movie is enormous and in order to obtain sufficient resolution everywhere, we had no choice but to separate it in multiple pieces and work the textures separately. Of course, a lot of work went into working the pieces seams to make the whole thing imperceptible.

While the biggest part of the work was done in ZBrush and Photoshop, the first step was in Softimage, where we had to find the right dimension for each cliff piece. Once done, a first layer of subdivision and modeling was applied to have enough detail to work once in ZBrush.

Here is what the first version of one of our cliff piece looked like right out of Softimage. At this stage, the Uvs have already been unfolded and will adapt once we start subdividing the model.
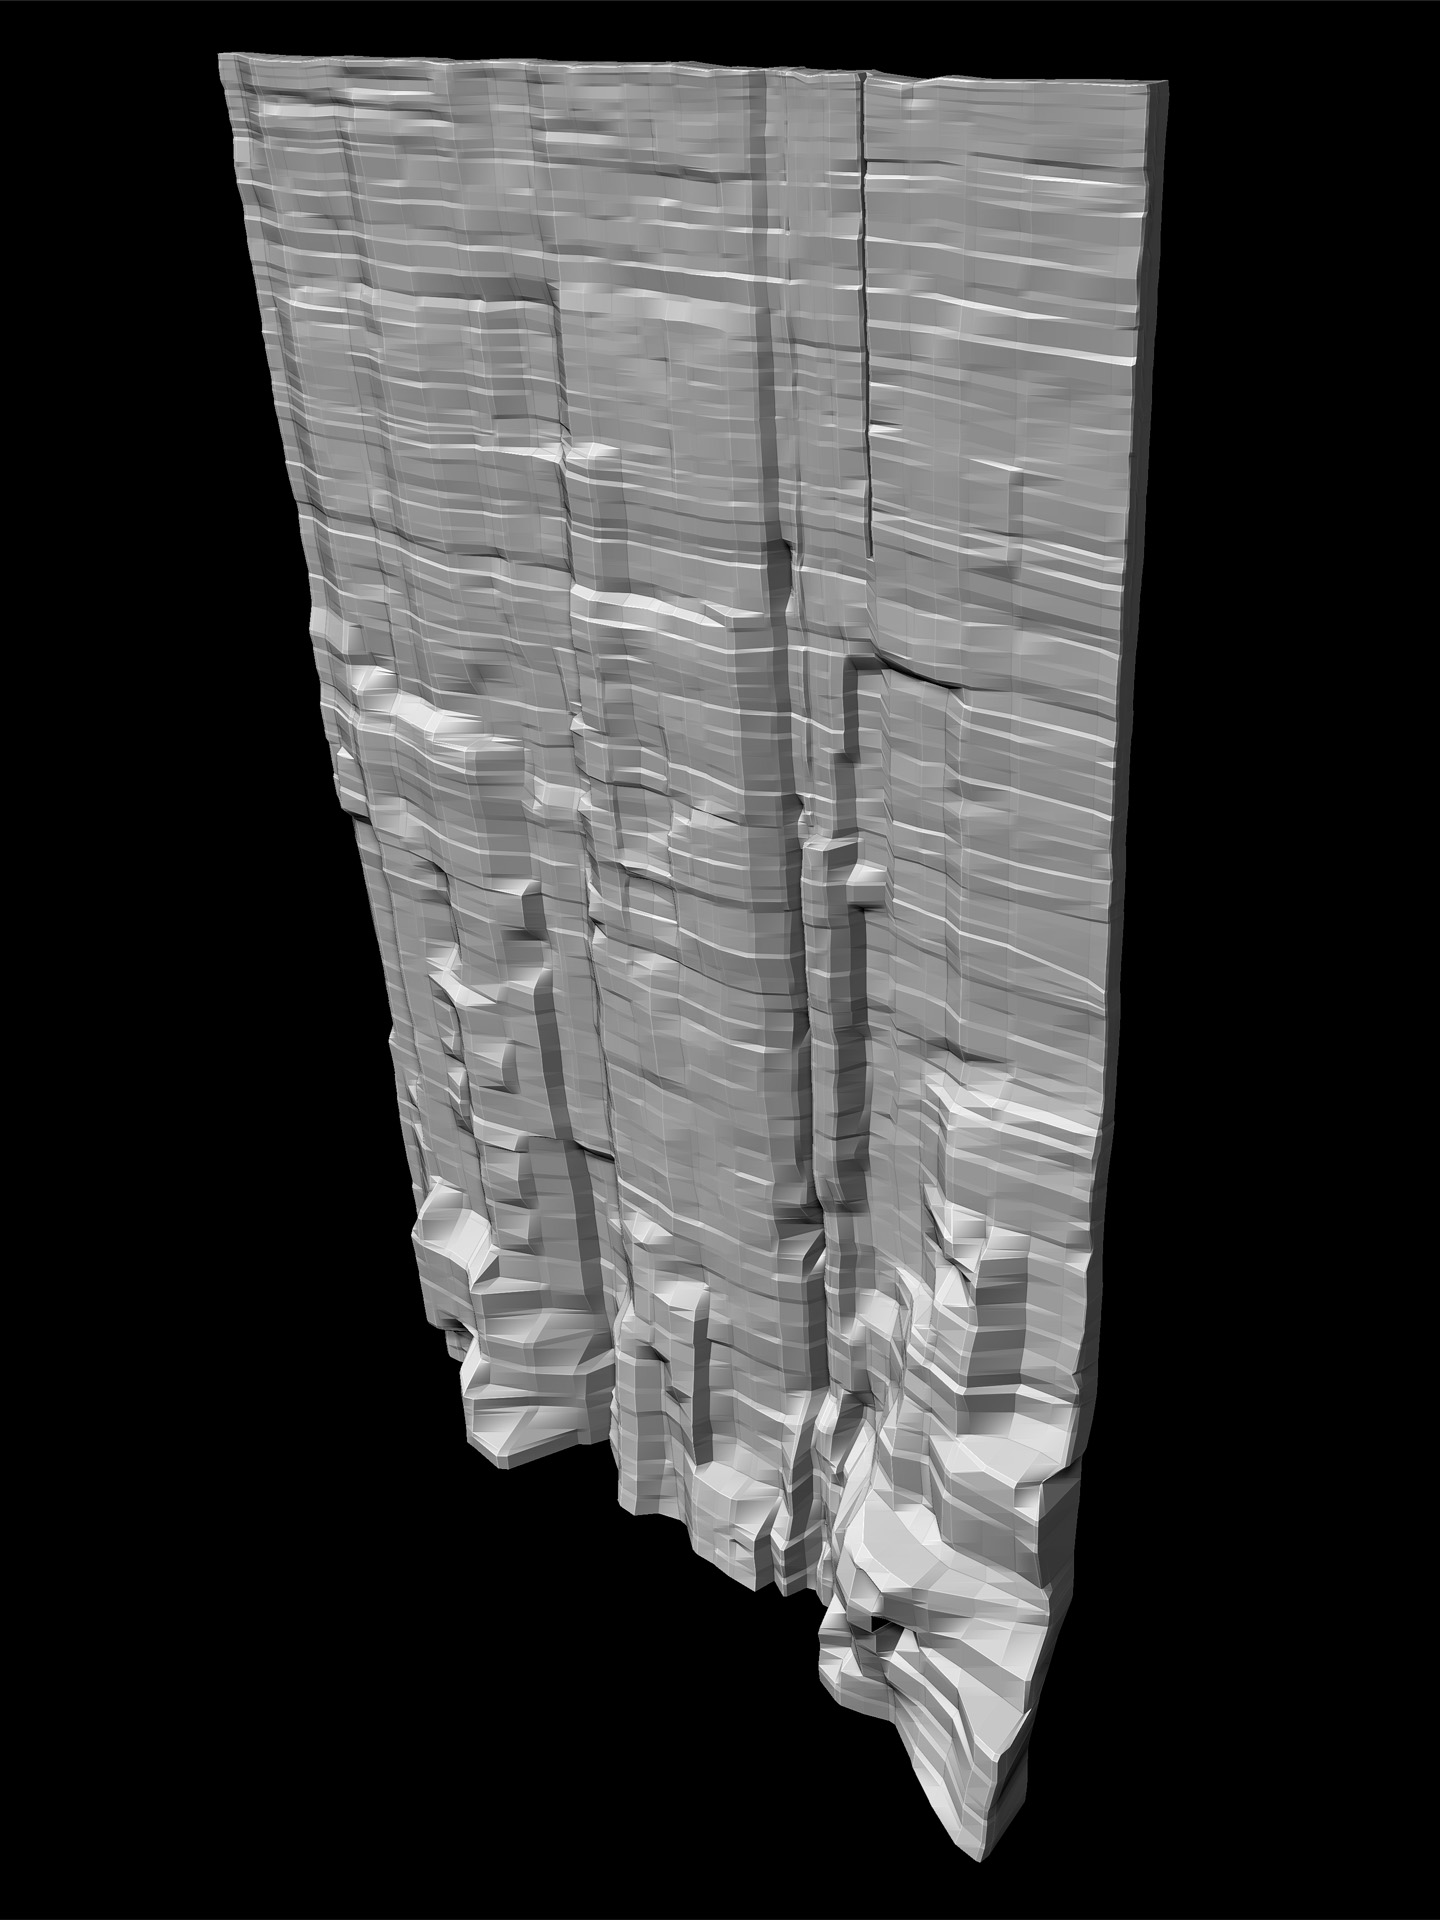
The second step is to subdivide the model as much as possible and sculpt the cliff until the result is a little more realistic.
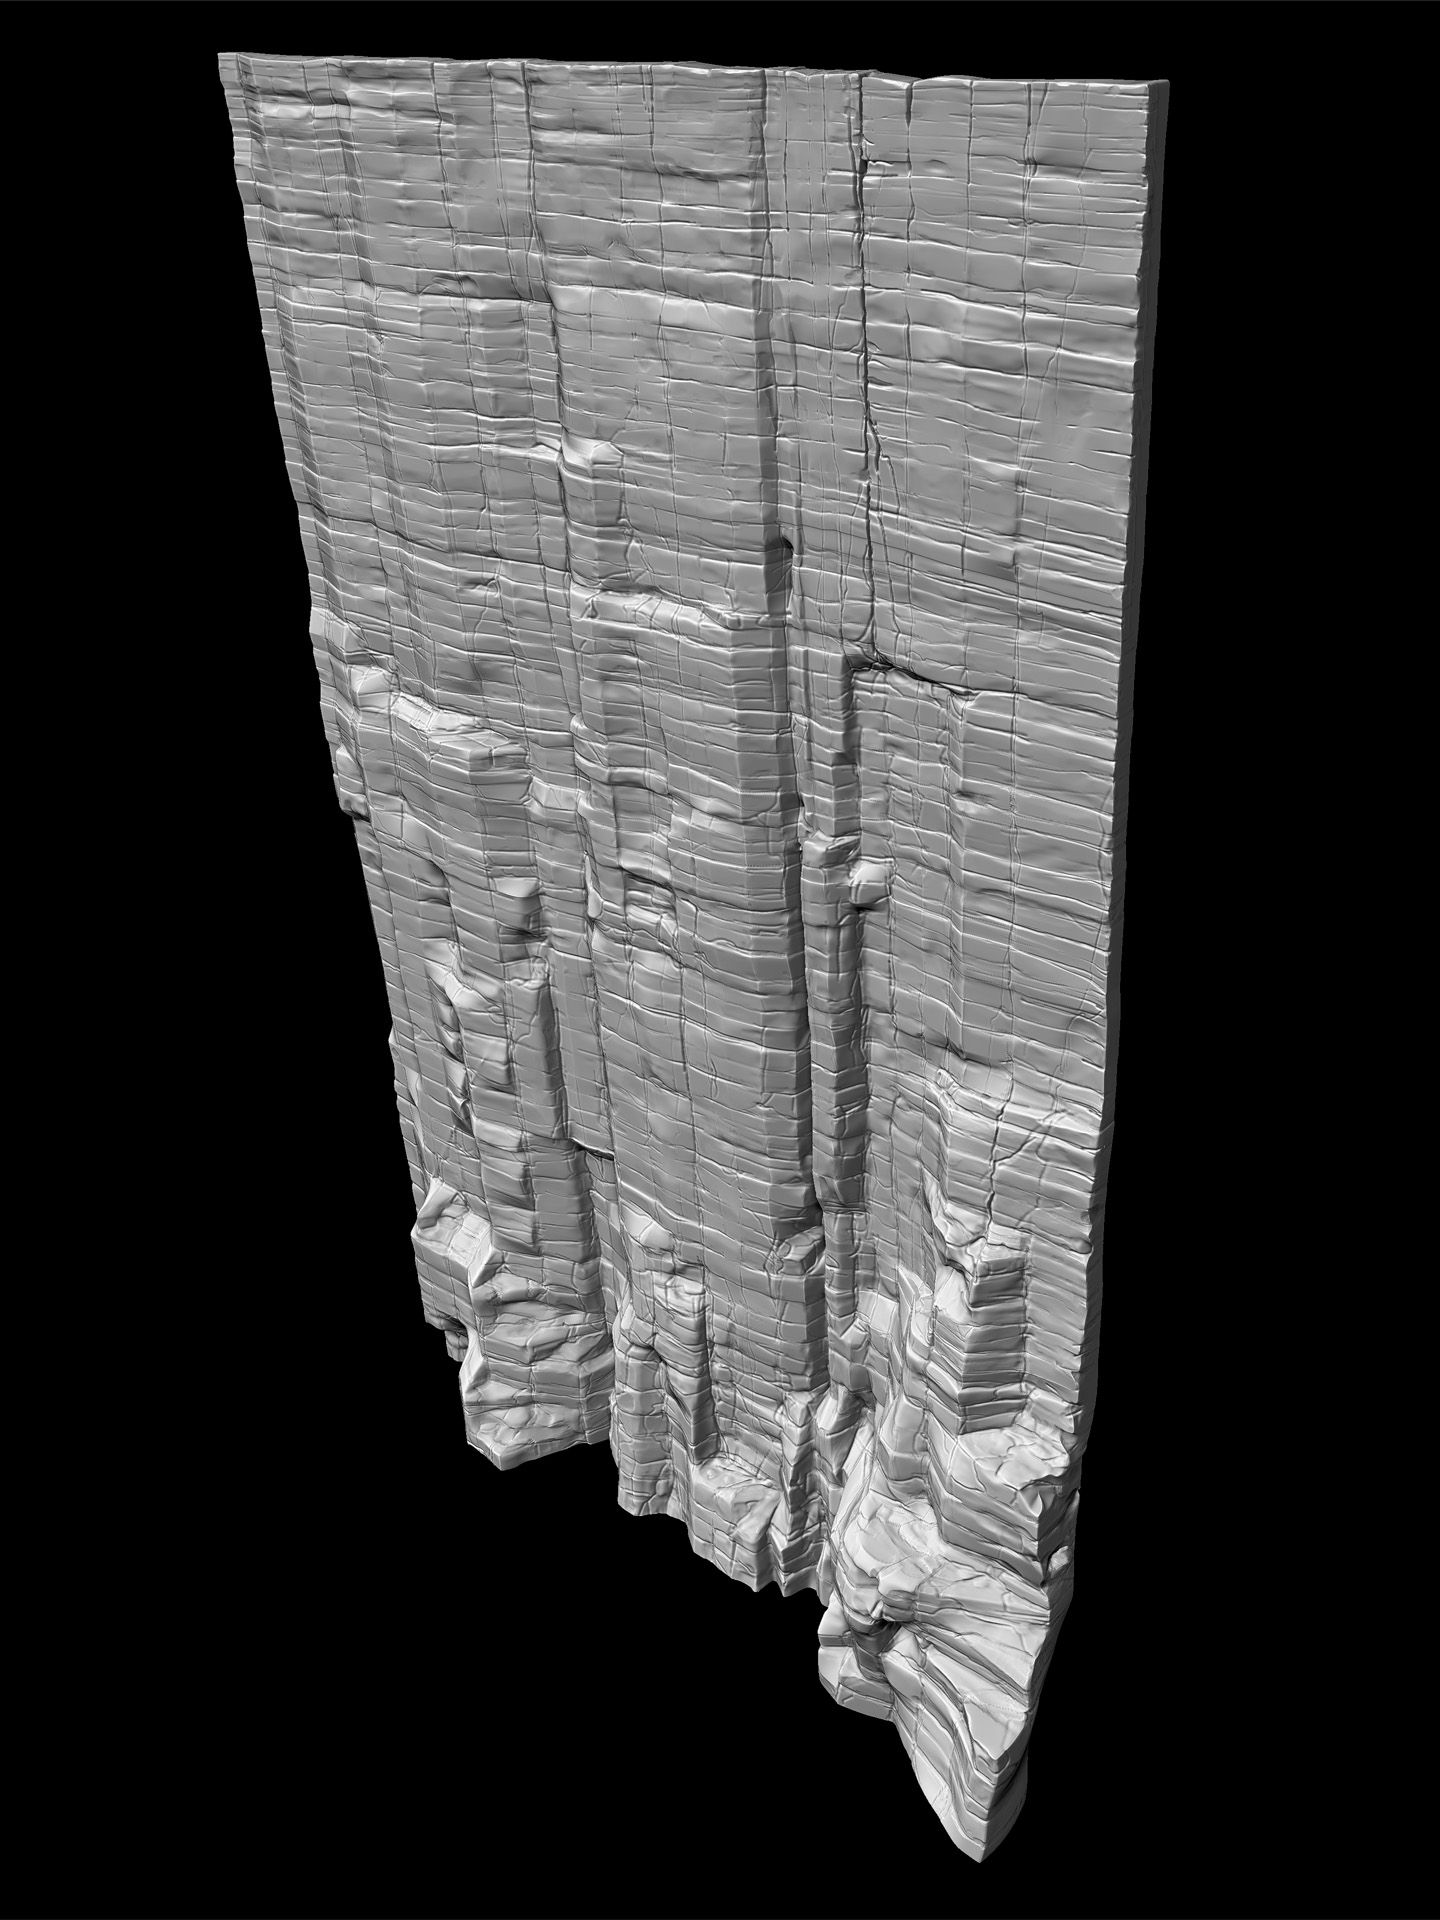
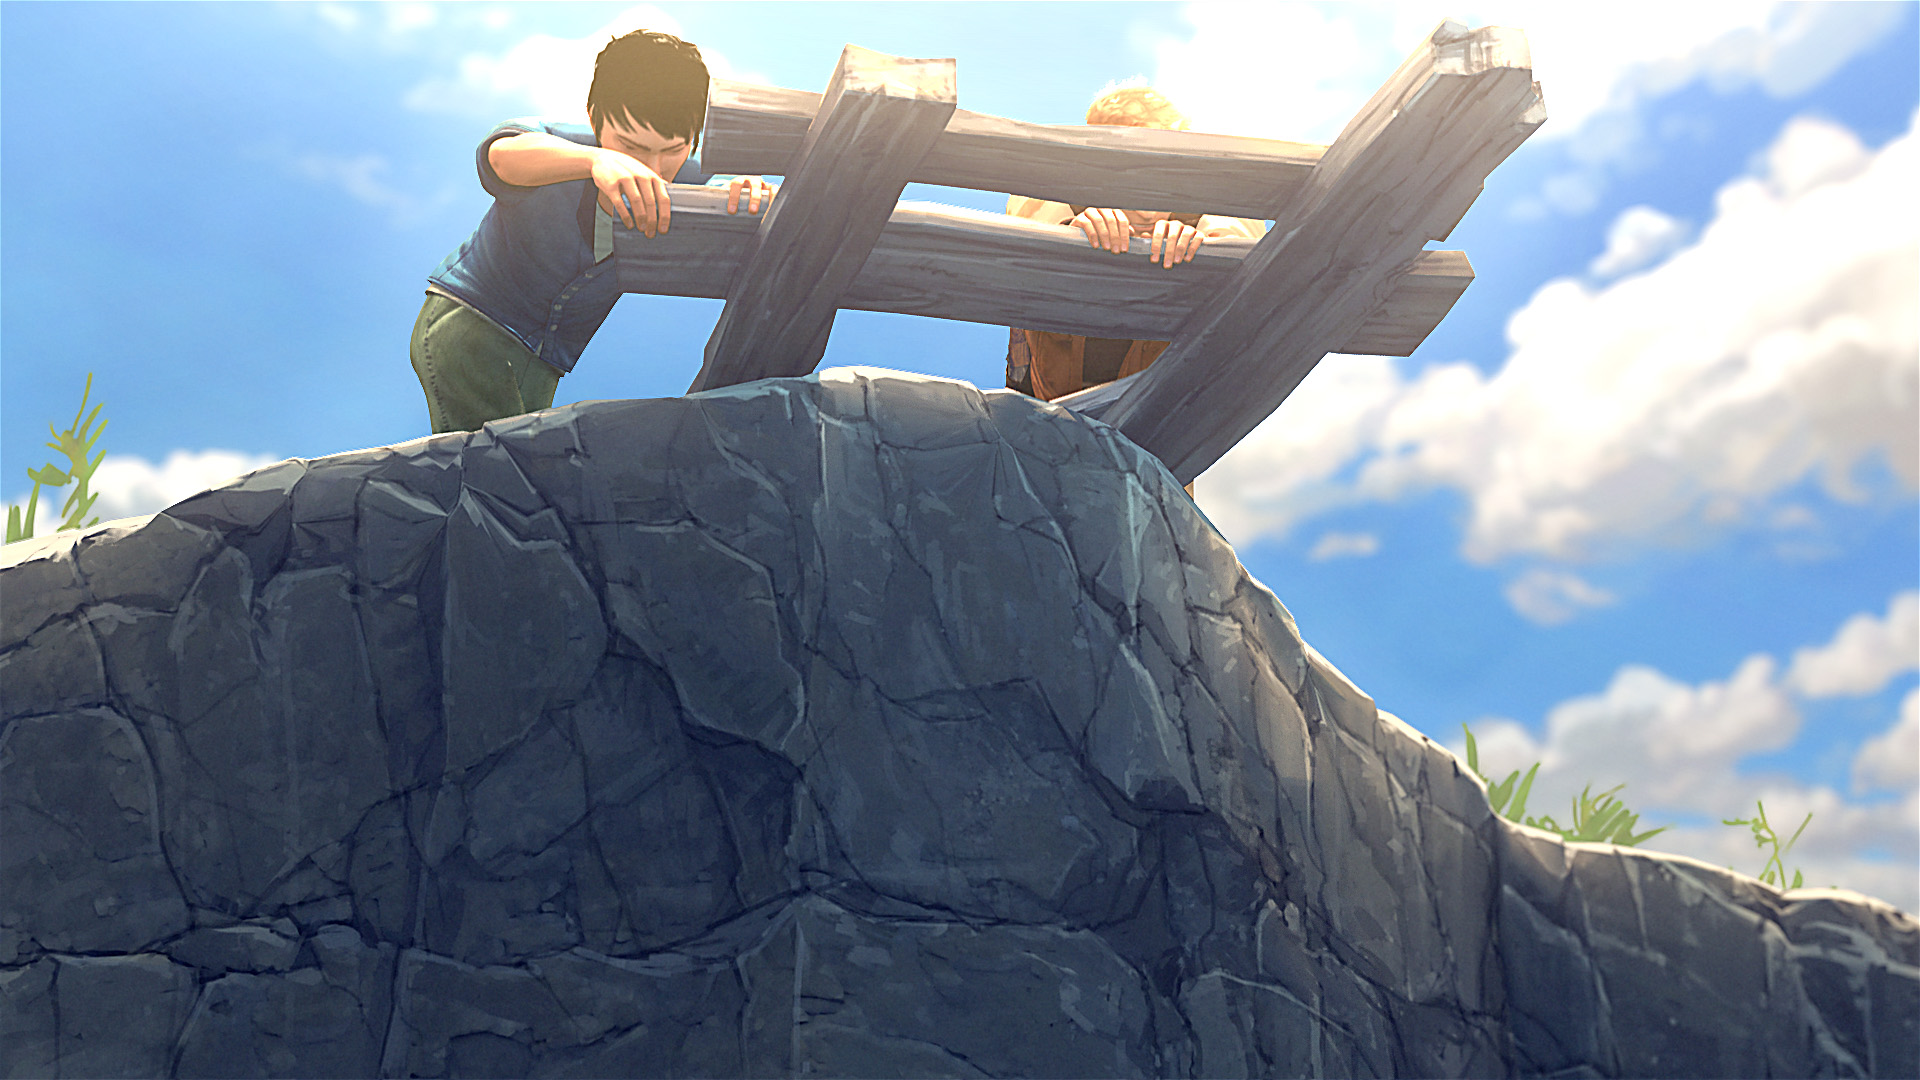
It’s now time to use a very useful technique we discovered, which consist in literally projecting the ZBrush shading onto the surface of the geometry using ZAppLink. This way, we obtain a good texture base that follows the details of the sculpt. Then we only have to refine the lines, still in ZAppLink, to obtain the following result :
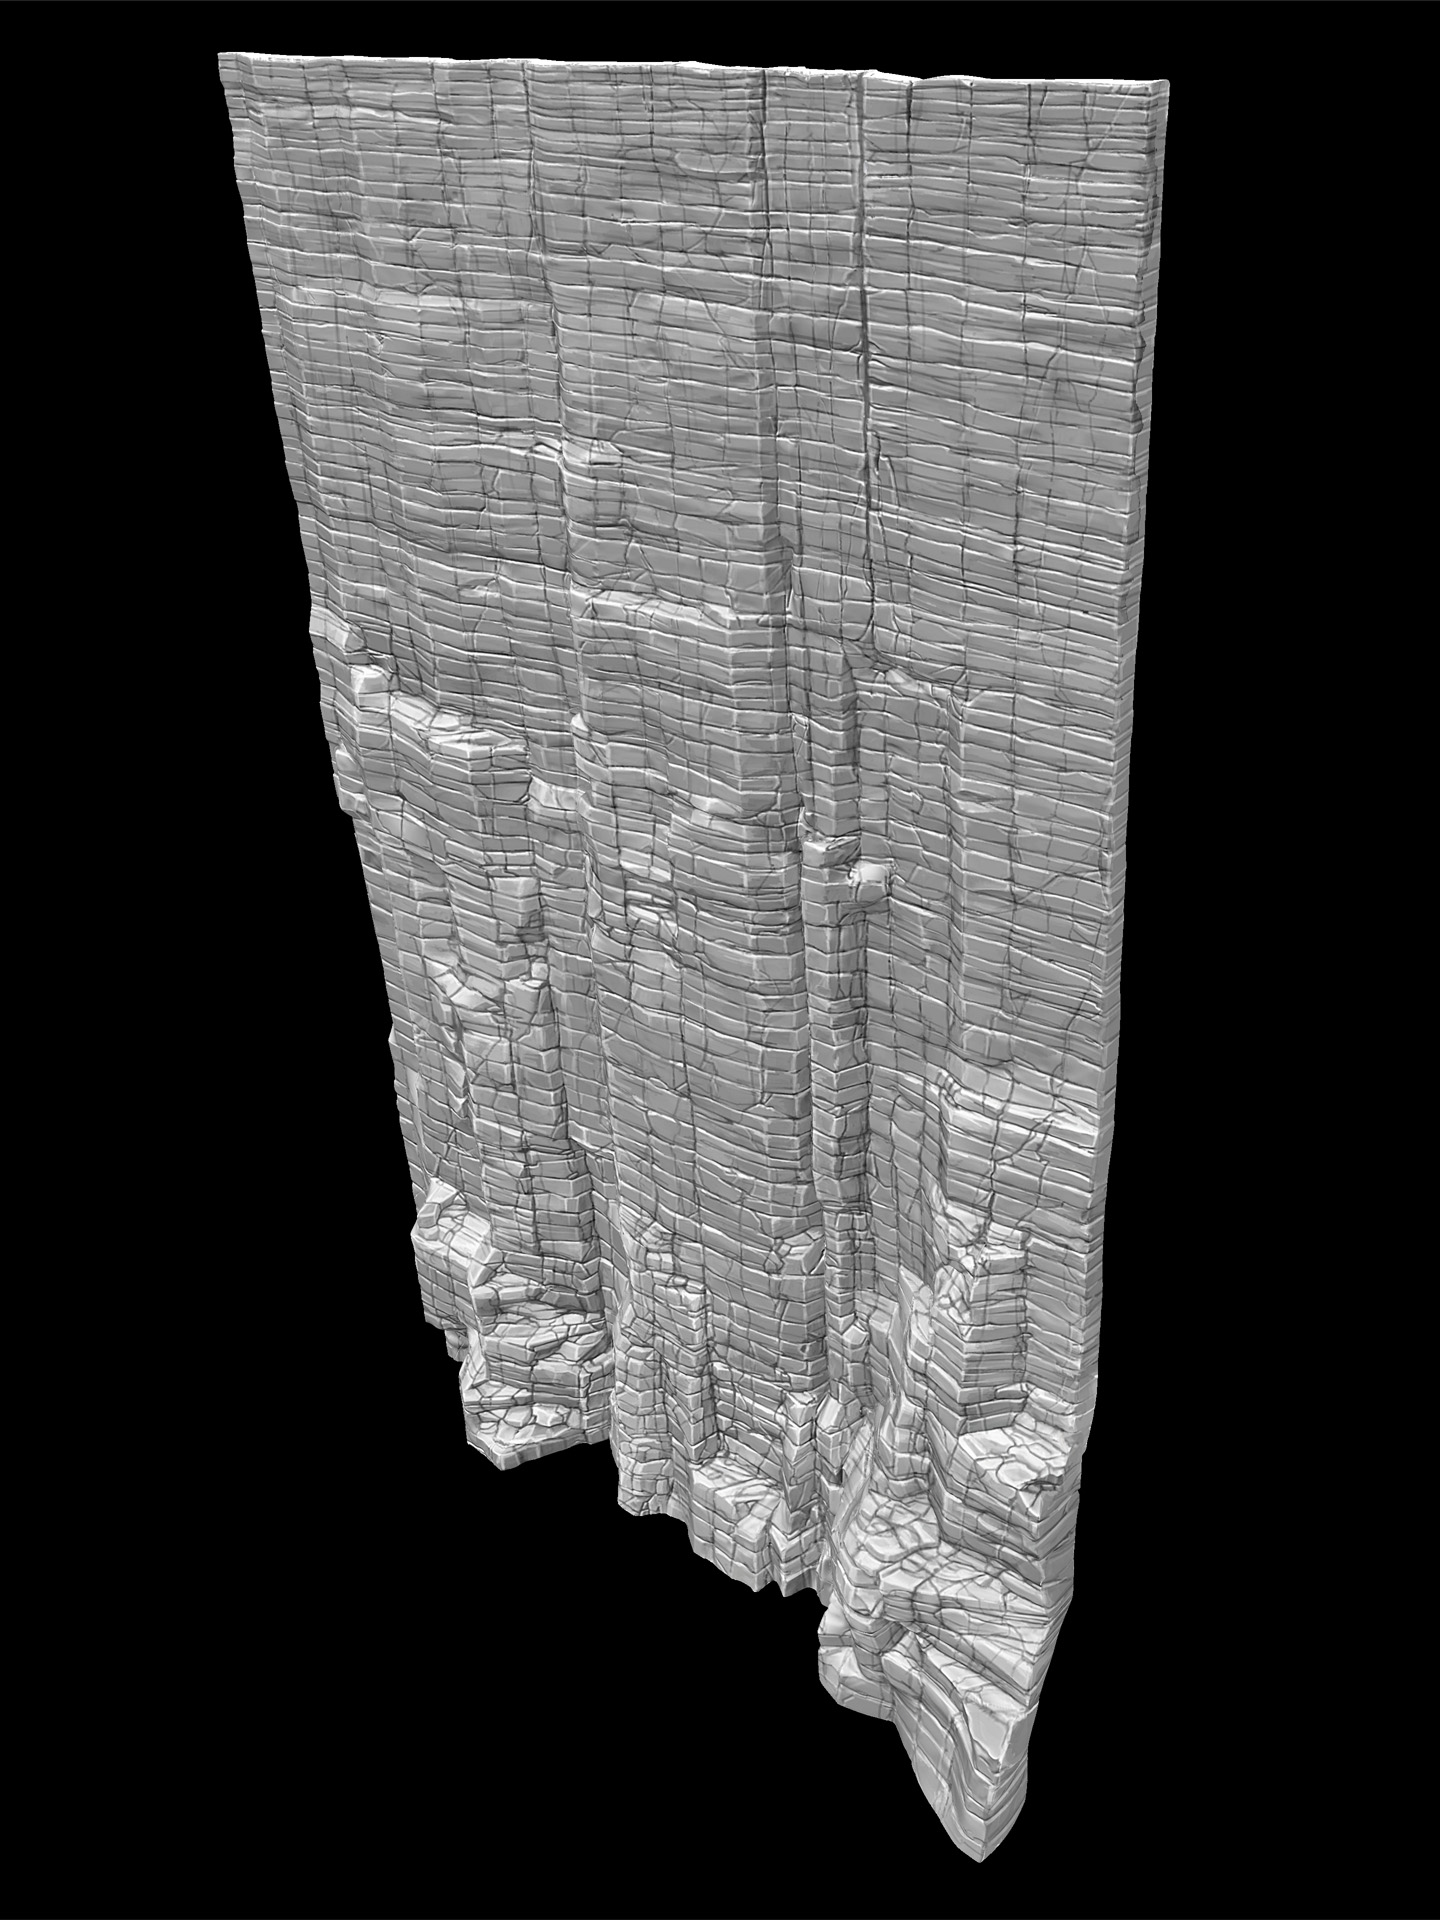
Since the Uvs have already been unfolded, we can simply export the texture in Photoshop and use this painting as a base to add color and smaller details. Here’s the final texture :
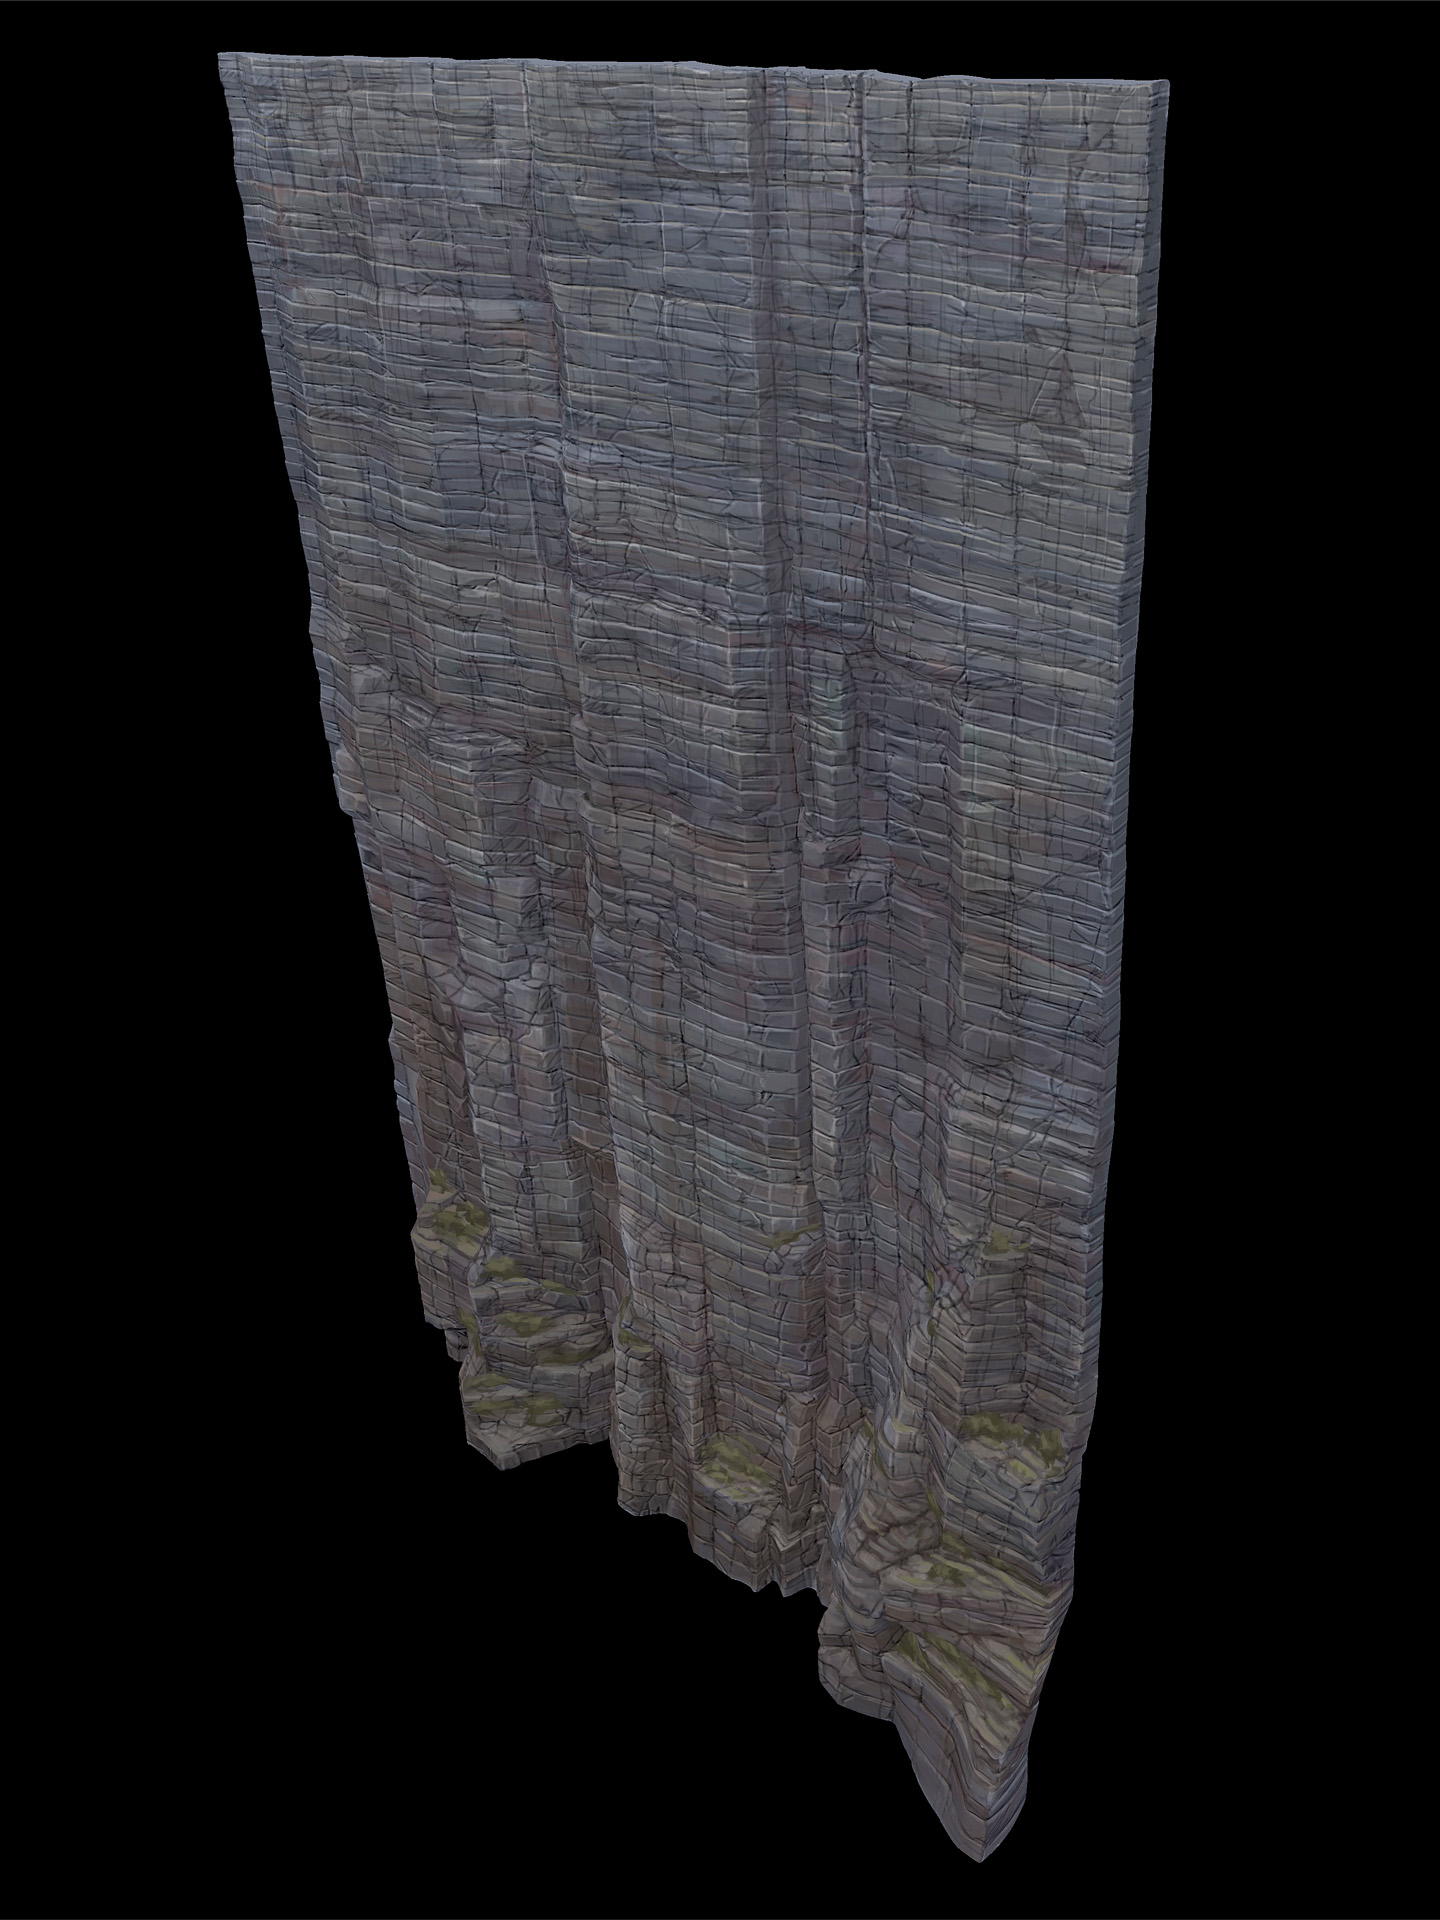
The nice part about all this is that since the texture was made using the sculpt itself as a base, the details of the cliff follow the modeling very closely once we add lights!

Well that’s it, I hope it wasn’t too hard to follow. Feel free to leave a comment if you have any more questions, and see you next time!

Week 73 – Face drops technique

posted in: Uncategorized | 11

Hey everyone!

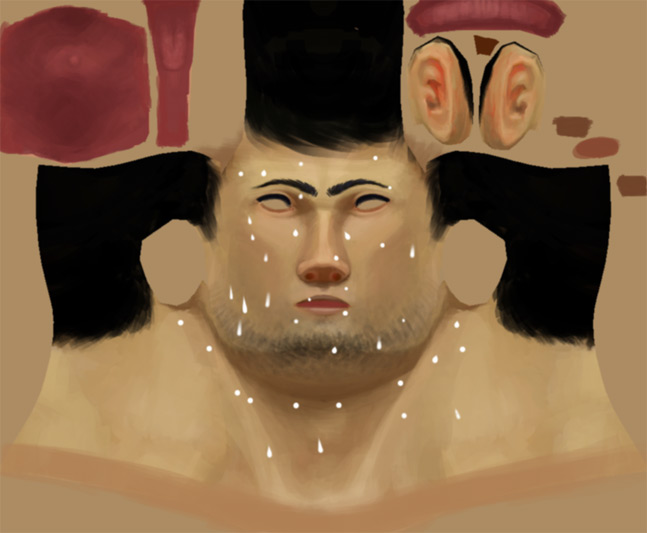
This week, we’ll be showing you a technique we use to render small drops of water that run down the face of our characters. You’ll see it’s quite simple, and also has the benefit of being far less complicated than to try to simulate the whole thing.

First, we create an animated texture of the droplets. In order to do this, we use After Effects and a texture of the character’s face as reference. This way, it’s a lot easier to animate the drops so that they really follow the contours of the face.

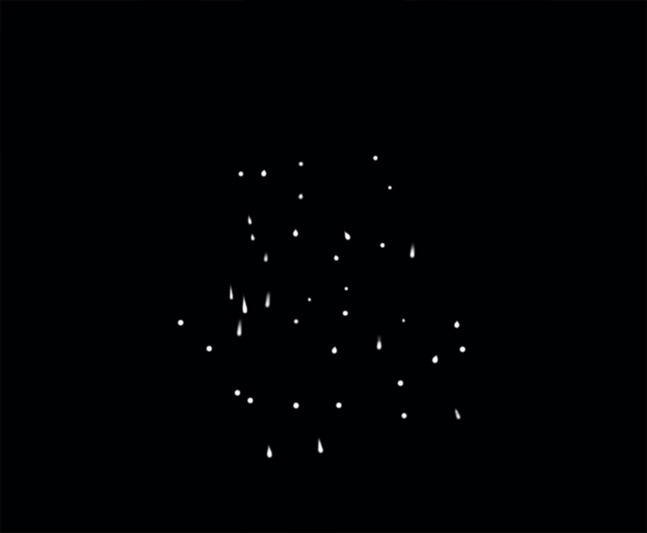
Once the animation is completed, we export an image sequence with only the drops in black and white so that we can later apply it on the 3d model.

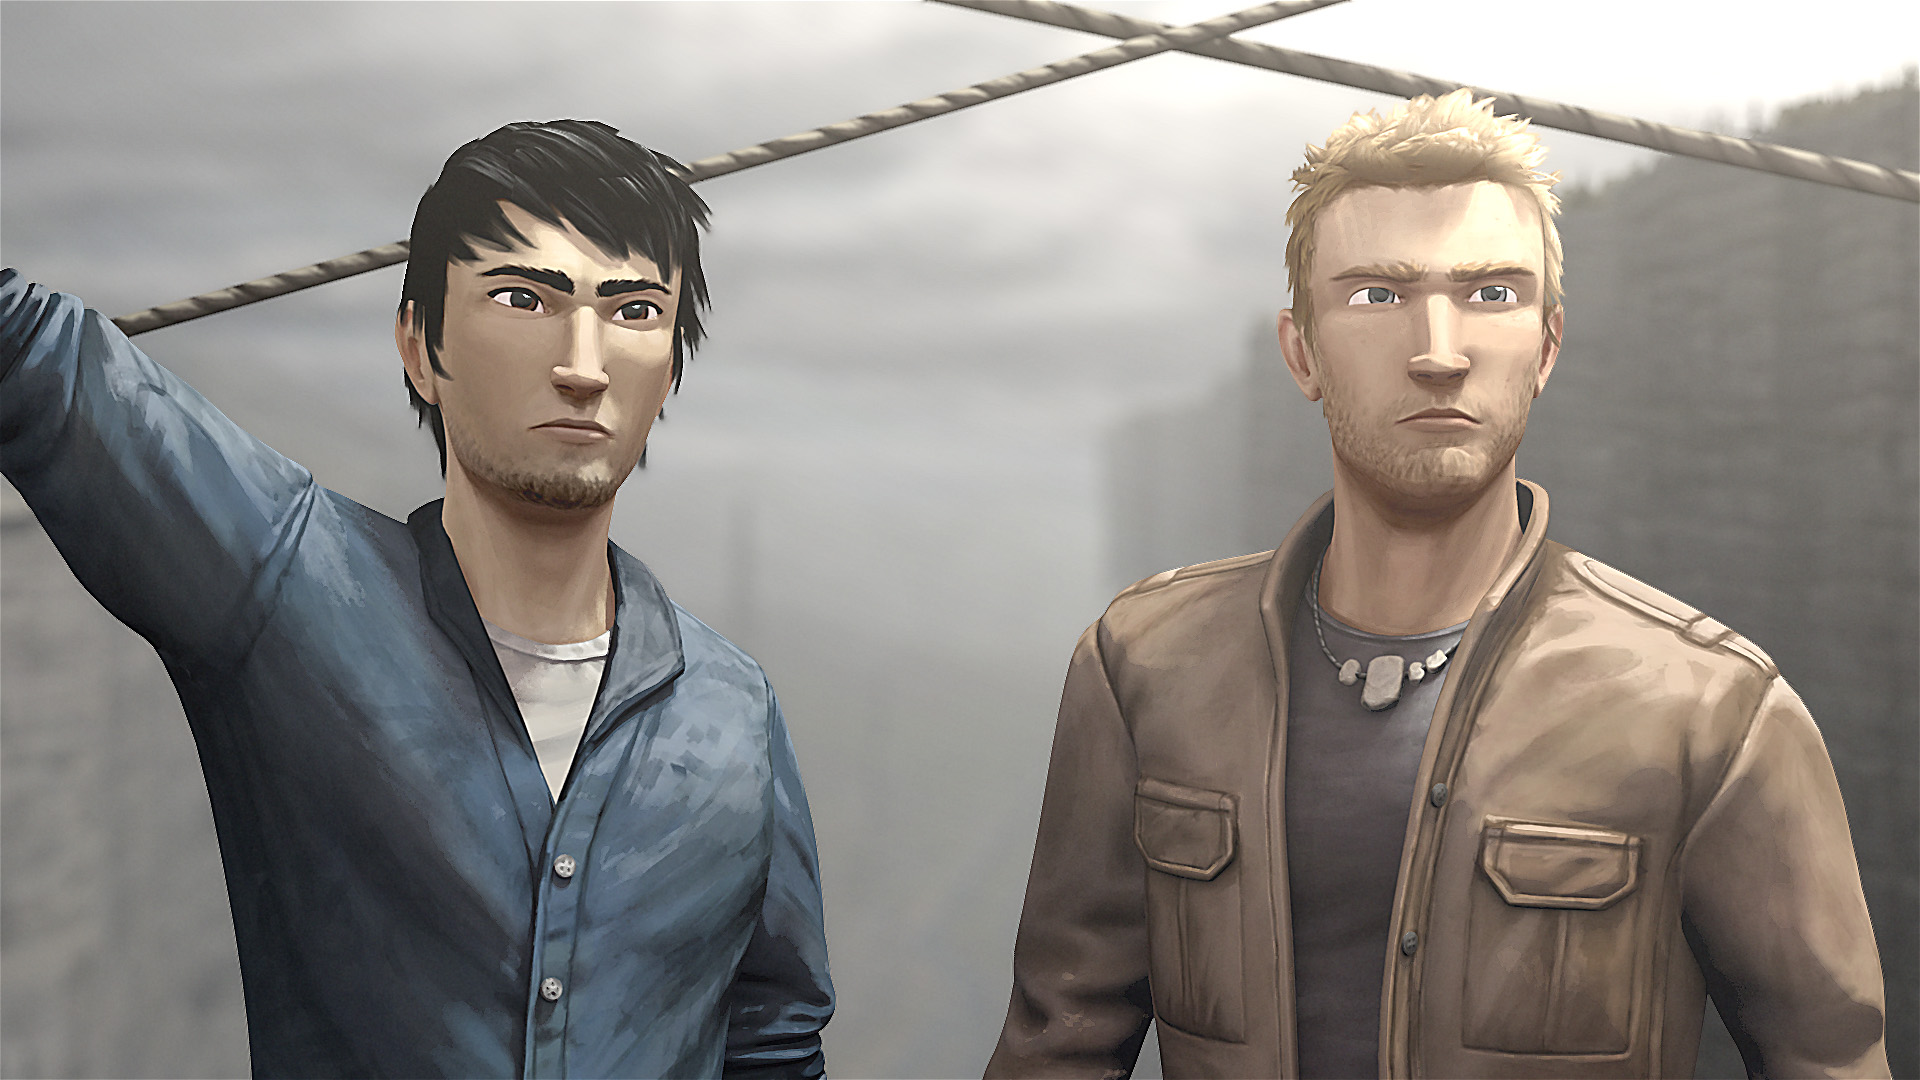
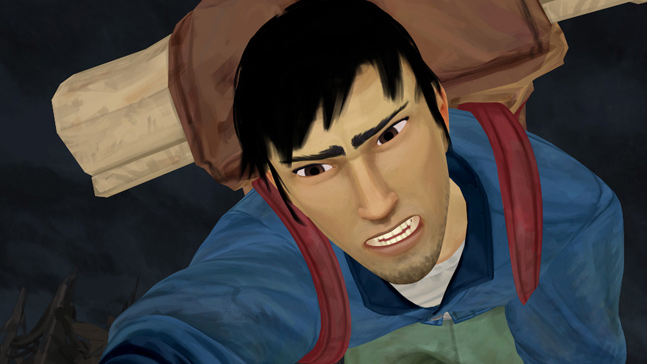
For example, here’s one close-up shot that needed this effect :

We create a new pass with a constant material that uses the image sequence that we rendered previously. This way, the texture will follow the model perfectly, no matter how much the face deforms.

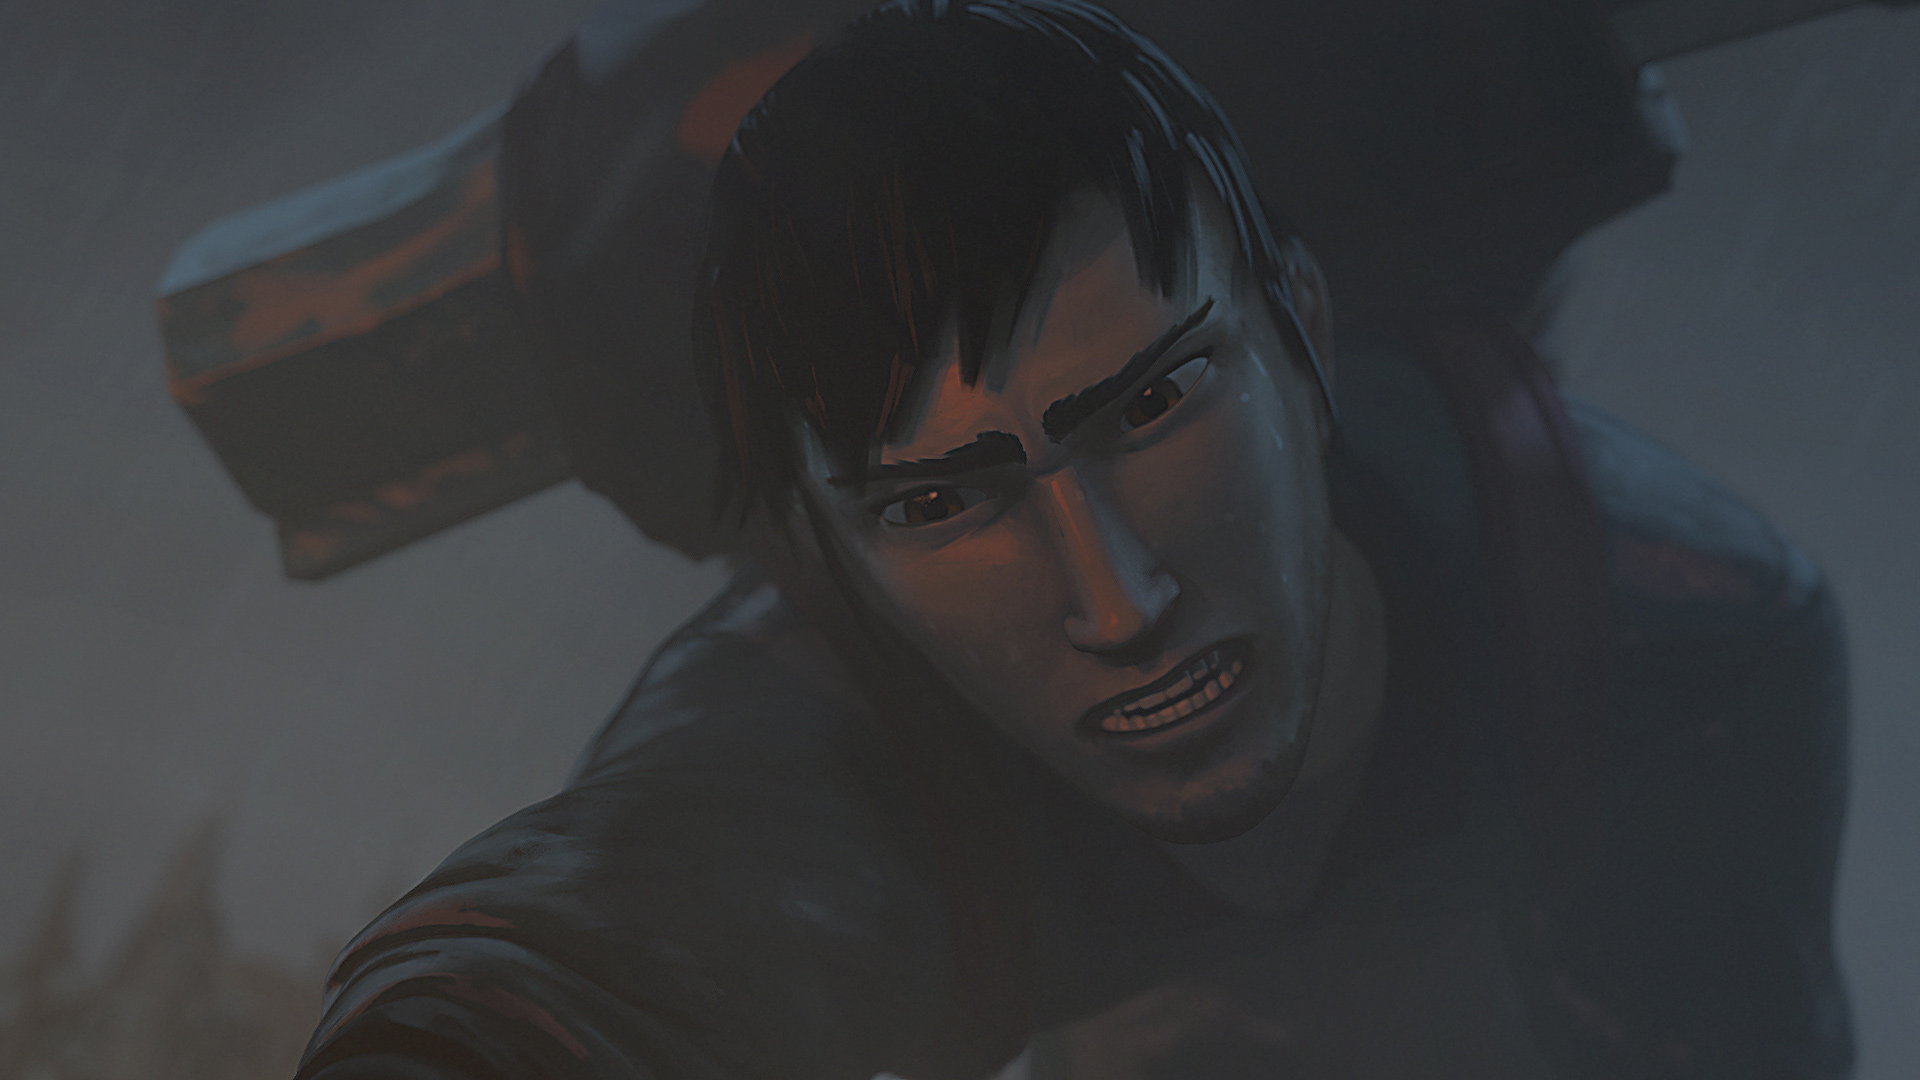
That’s it! Now, we only need to render the pass to use it in our compositing package. A good general tip to really sell the effect is to make the drops be more visible in the reflective areas of the face. Here’s the final image :

Have a good week everyone!

Week 71 – Cloud projections

posted in: Textures | 2

Before introducing this week’s video, we’d like to share with you some very good news! Indeed, we’ve been selected for the first ever IP Incubator Spotlight on CGSociety. Basically, it’s a group where people are encouraged to post every two weeks the progress they’ve made on their personal IP’s so they can stay motivated and get some feedback from the community. Every months, the moderator chooses one project to be in the spotlight, and this time, it’s Le Gouffre!

If you want to have a look yourself, here’s the link:
http://forums.cgsociety.org/showthread.php?f=2&t=1110087

Now, for this weeks’ video… we thought you’d like to see the technique we used to add movement to our painted clouds, like in our autumn sequence. We don’t explain everything in detail, but it should give you a good enough idea of how it’s done so you can adapt it with whatever program you use.

There you go, we hope you enjoyed this week’s post. Come back soon for more news about Le Gouffre™!

Week 69 – SODEC News

posted in: Animation, Compositing | 0

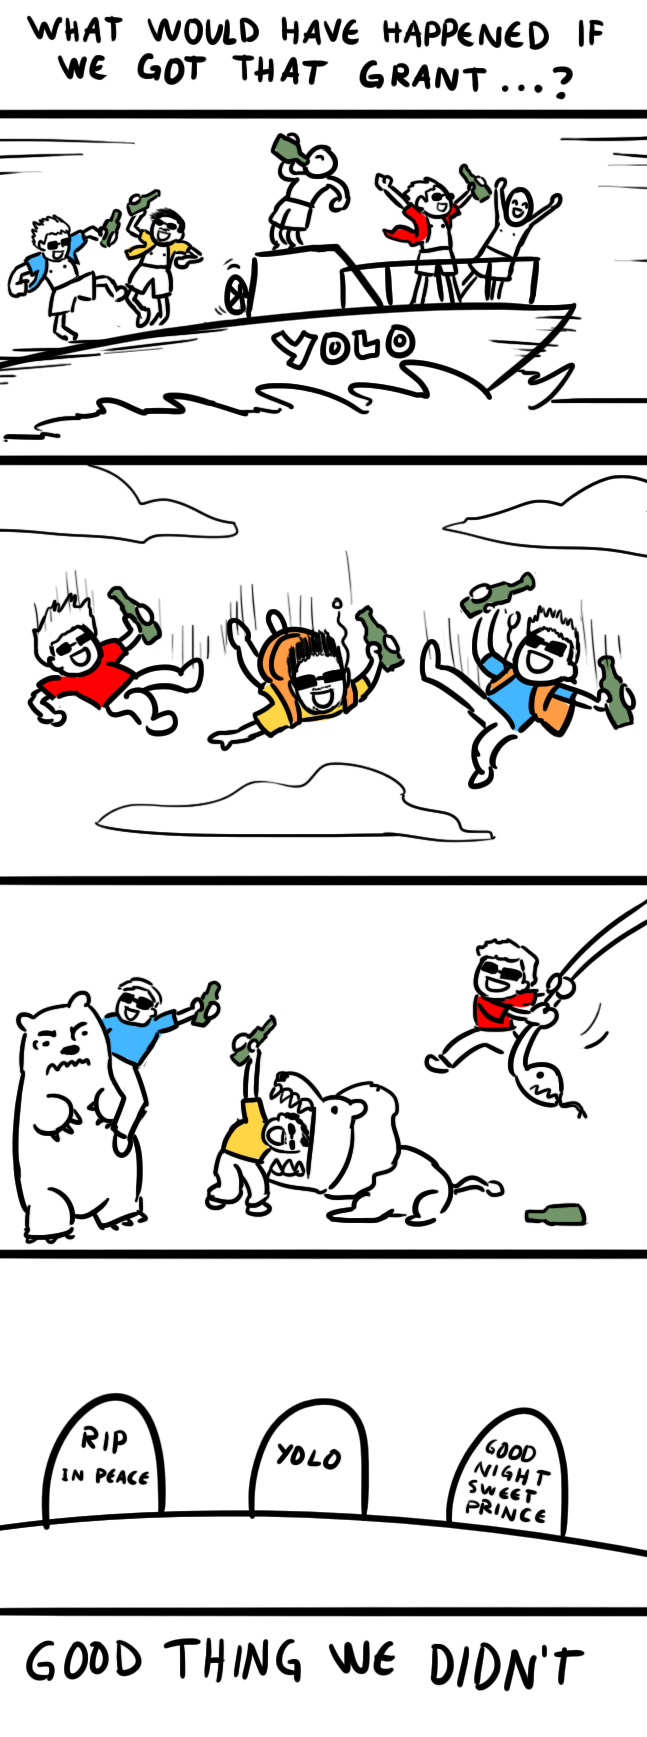
You might remember those papers we filled a few months ago for the grant? Well, we received the answer last friday and unfortunately, we didn’t get it.

It’s a little sad since we really counted on that money to help us work through the end of this film. It means we’ll have to change our plans a little, but one thing is certain, we’re not giving up! In fact, we’re relieved to finally know what’s going on, these last three months felt like an eternity!

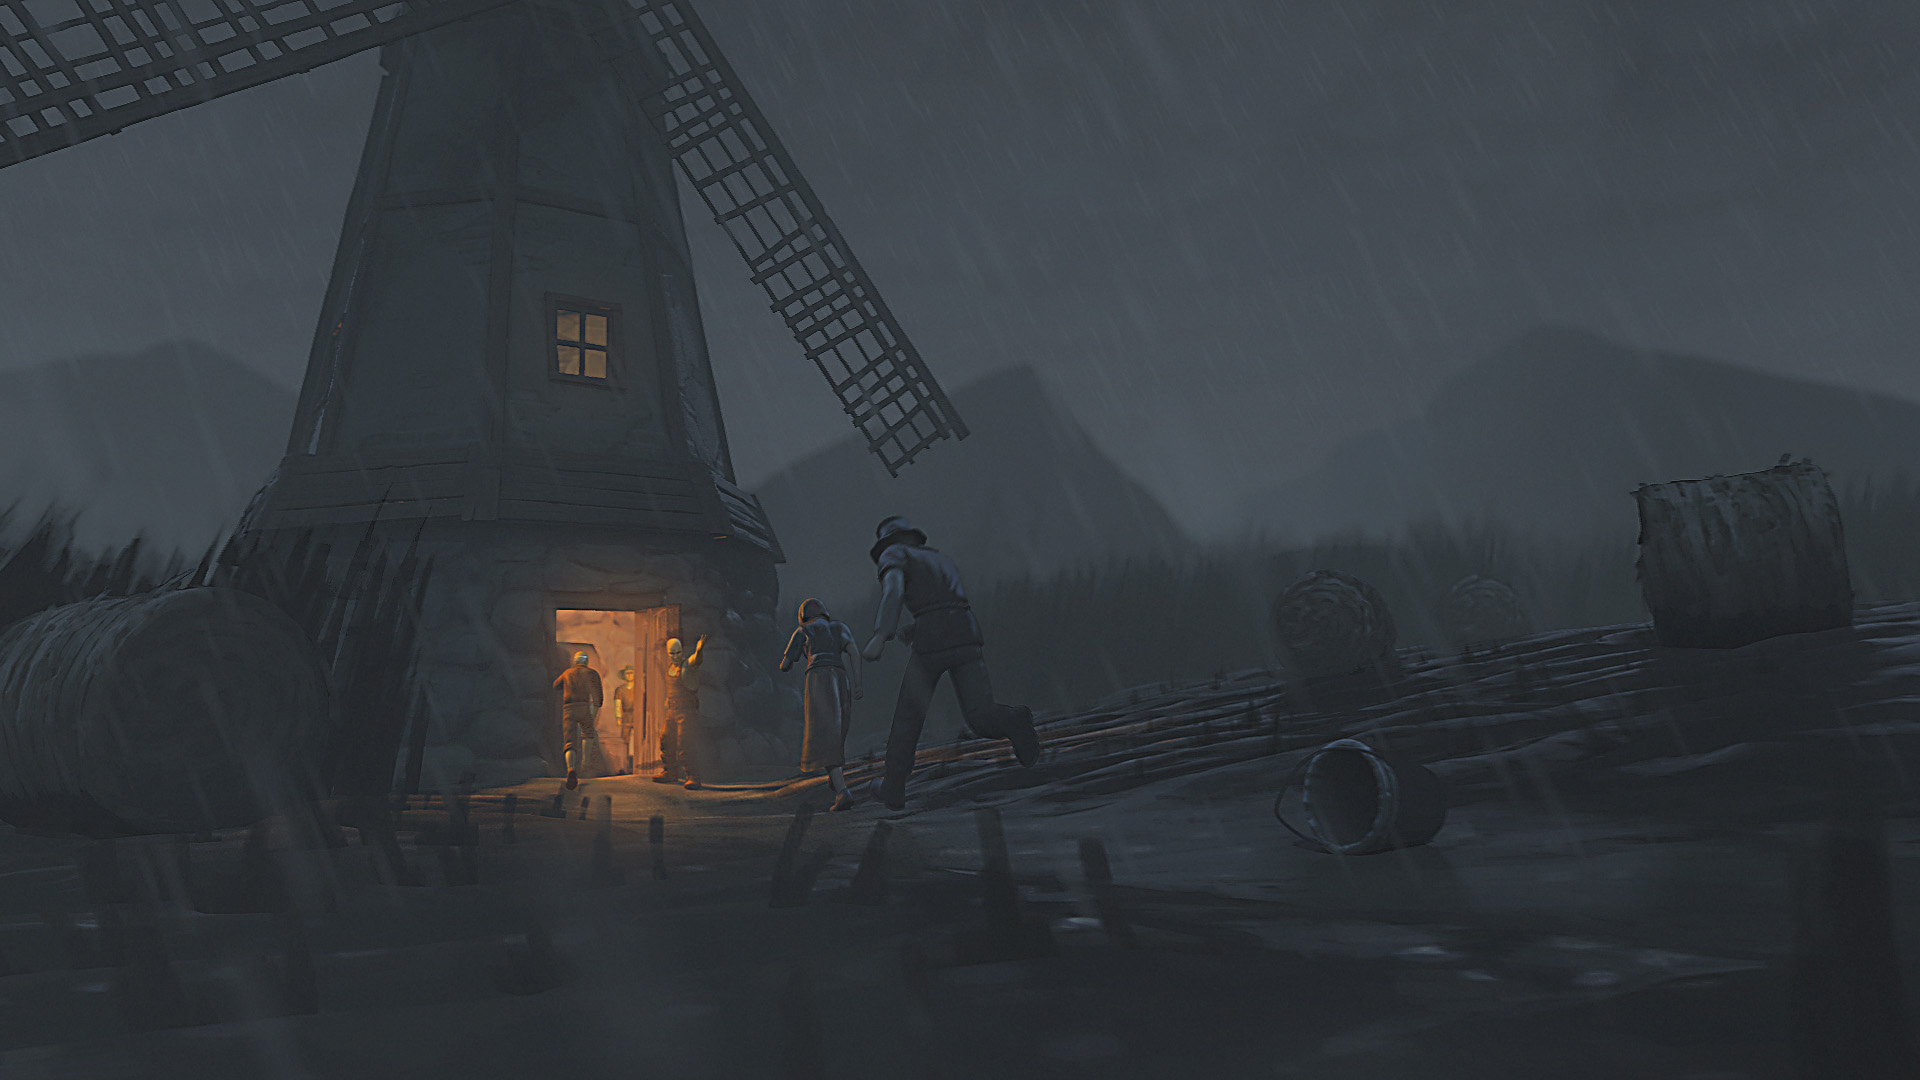
So, for this week’s post, we have another short animation clip to show you. This time, it’s about the villagers taking cover inside the mill before of the storm. Try to imagine it with rain and thunder!

Also, we’re currently reworking some old compositing scenes and it’s just getting better and better! Here’s one we just finished – it’s not necessarily the most dramatic, but at least it doesn’t have any spoilers!

Well, that’s it for this week. Thanks for coming, and see you soon!

1 6 7 8 9 10 19